This course is a hands-on introduction to Machine Learning, focusing on model training, image recognition, computer vision, and game-based applications. Students will make use of some simple ML tools to train their own models, then integrate those models into Jippity projects.
Please make use of these slides to introduce the course as well as some of the later projects.
Notes and recommendations:
- Webcams are required for this course. If your students don't have access to webcams, projects 1, 2, and 4 don't require them.
- The course is broken into 8 days' worth of activities, each of which is mostly self-contained. Any activity can be expanded into a larger independent project. Depending on the time allotted for the course, you can skip over projects or make room for extra independent time. See what students are into and follow their interests.
- The course is accessible to new programmers, but students need some basic computer literacy, especially searching up and then saving images to their computers.
- Have students fork the Jippity template projects to save copies to their own accounts that they can then edit themselves
Train simple image classifiers.
Introduce the course with slides 1-3 then show an example of a pre-trained banana classifier on Jippity. Download some images of bananas at various states of ripeness and upload them to the model to see how it works:
Next, introduce Teachable Machine and start classifying images to work with the following Jippity project (slides 4-7).
NOTE: Capitalization and spelling matter, so make sure to use 'Cat' and 'Dog' as your classes in Teachable Machine!
The greater quantity of images students upload to their training model, the better the classifier will be. Compete to see whose model does the best on new images, or goof around by asking the model to classify images that are neither cats nor dogs.
For more challenge, try adding a new category to your model (such as another animal or object), test with images where the dog/cat faces are partially obscured, or use rotated images.
Students should feel free to customize the look and feel of their Jippity projects too — practice a little web design!
Explore pre-trained models and discuss their training, accuracy, and limitations.
Building on our experience with Teachable Machine, we'll explore pre-trained models and discuss what it takes to train models at this scale.
Goals:
- Understand the difference between pre-trained and custom models
- Consider the data and training process that goes into pre-trained models that we use
Activities:
- Spend 10 minutes exploring the
ML5jspre-trained image classifier model's accuracy and limitations:undefinedShare examples of well-classified and poorly-classified images.
- Explore the
COCODataset and discuss its structure and training applications: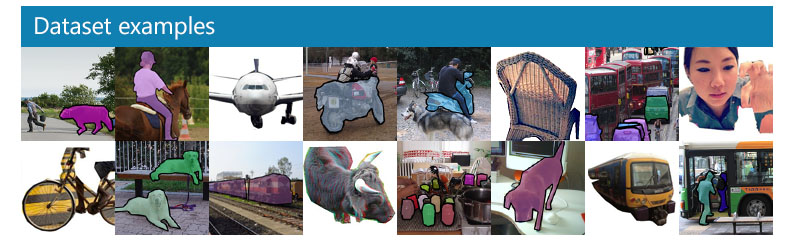
- Discuss segmentation of objects in images
- Explore the concept of labeling images for training
- Connect to our custom model with
Teachable Machine - Discuss challenges and solutions in image classification
Project options:
- Fork the
ML5jspre-trained Image Classifier and turn it into a game or challenge (for example, have the user try to guess what an image will be classified as before revealing the answer.) - Create another model on
Teachable Machineclassifying a different category of objects, aiming for 80% confidence or higher. Can use the Cat or Dog jippity project as a template again.
Teach your computer to play Rock, Paper, Scissors with the webcam.
Leverage newfound Teachable Machine skills into a game. The Jippity template above sets up the basic code to facilitate Rock, Paper, Scissors — students just need to supply the Teachable Machine model then customize the game presentation as they see fit.
For this Teachable Machine model, we will make use of the webcam to capture video of each hand gesture, in addition to a 'Nothing' class for when the user doesn't make a gesture.
First discuss how the training might work with your students, then follow slides 8-12
- How should you train the model? What images and how many will produce the most accurate results?
- Can you give the Jippity player some strategy besides just random choice? Is a strategy even better than random choice?
- Can you decorate the game to give it some visual pizzazz, or some sound effects, or dramatic music?
The principles so far, which extend to so many ML projects, should be clear now: feed data into a model to train it to spot similarities and differences, then wrap that model in a Jippity project of your design.
Recognize sketches in real-time.
The goal of this activity is to train a model to play Pictionary — that is, to guess what the user is drawing as they're drawing it. We'll start by exploring pre-trained models and then create our own custom doodle classifier.
Play with DoodleNet
Spend 5 minutes exploring the DoodleNet base model and its pre-trained categories. Try drawing different objects and see how well the model recognizes them.
DoodleNet categories
Spend 5 minutes exploring the categories of images that DoodleNet can classify. With this new information, student can spend a few more minutes with DoodleNet again and see if they can get better results on known categories.
Discussion: Custom vs Pre-trained Models
DoodleNetis a pre-trained model. What are the advantages of using a pre-trained model?- When might you want to create your own custom model?
- What makes a good training dataset for doodle recognition?
- How can we improve the accuracy of our models?
Create Custom Doodles
This project is based on this ThinkCreateLearn project.Fork this project and set up your custom classes (in the code, change class1Name, class2Name, class3Name). Draw multiple examples of each class to create your training dataset. After drawing each image, click the button for the category it belongs in to save the image:
Train Custom Model
Use Teachable Machine to train your model with the doodles you created.
Test Custom Classifier
Test your model using this template project:
Build Your Game
Create your own Pictionary game using either the base DoodleNet model or your custom model. Consider:
- What are the rules of your game?
- How will you make it fun and engaging?
- What visual and sound effects will enhance the experience?
- How can you combine multiple models for more categories?
- Should the player be scored based on how long it takes the bot to guess correctly? Or on number of correct guesses? Do we give the player certain items to draw that we know the model will recognize?
Read more about DoodleNet for additional information and inspiration in teaching or doing this project.
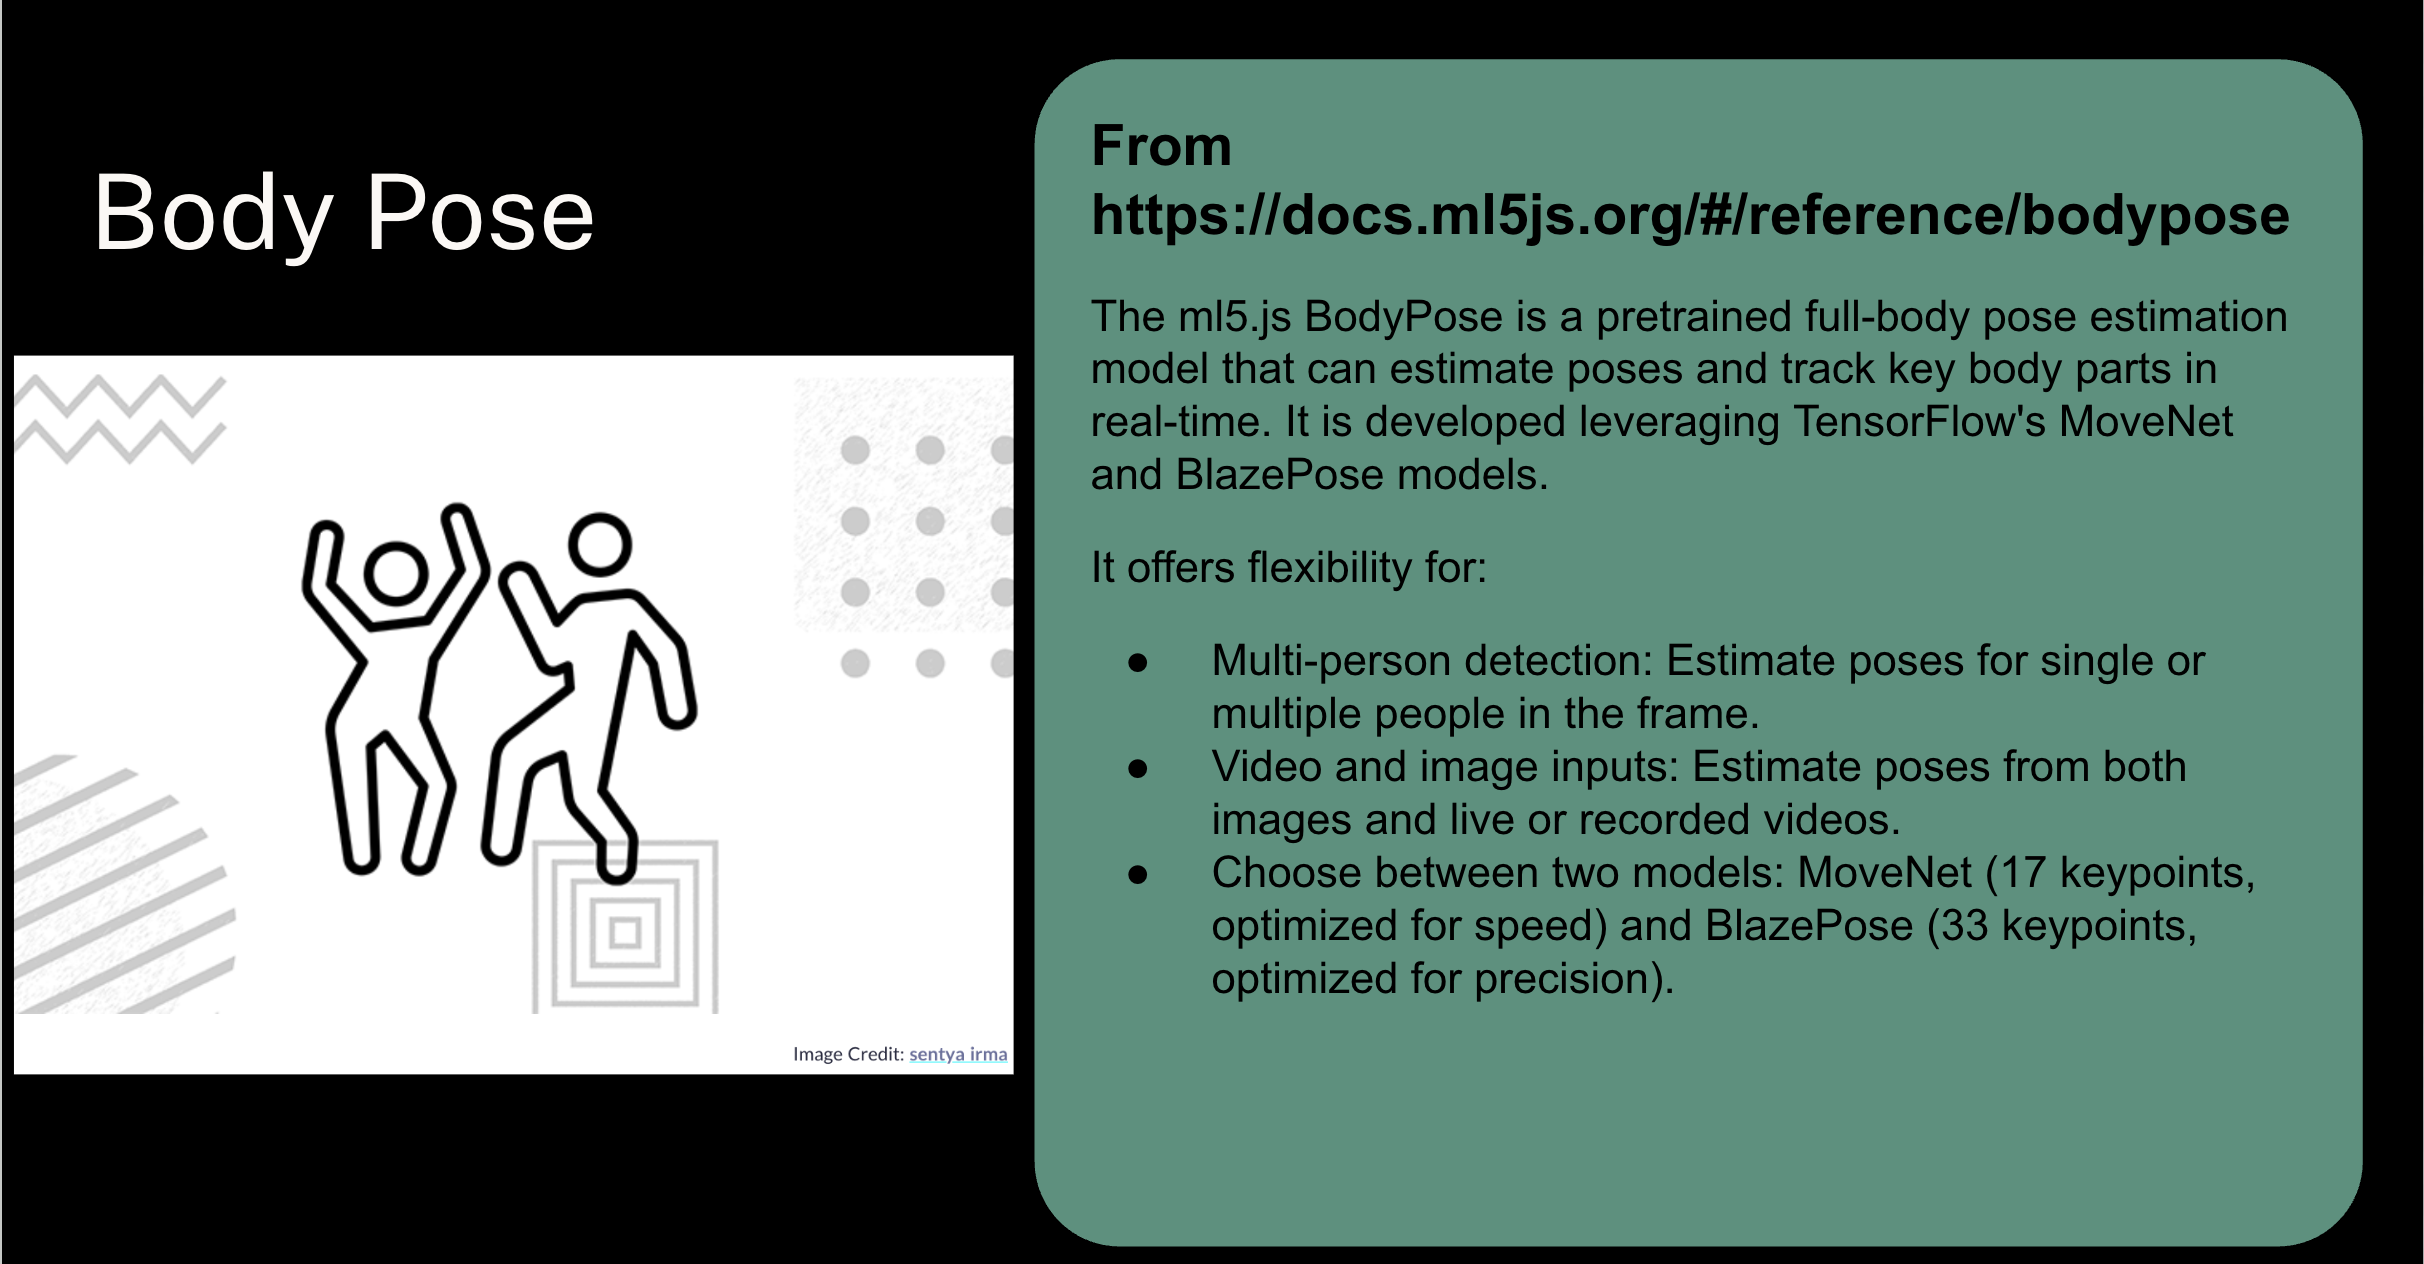
Train your computer to recognize body poses.
Begin a two-day project of training your computer to recognize directional body positions then using that to control a game. Focus on training the model for the first day:
- Use Teachable Machine to build a five-class model: Up, Down, Left, Right, and Nothing (remember, capitalization and spelling matter). What do you want to do, physically, to trigger those? It will help to be consistent with camera angle and distance.
- This model training will use video input from the webcam, similar to the Rock Paper Scissors project.
- Some ideas: use thumbs up, thumbs down, peace sign, pointing left and right, etc. For bigger gestures, use full body poses. Or, you can show certain objects on the webcam to trigger the 4 directions, such as stuffed animals or sticky notes.
- If students have different gameplay in mind, they can set up different controls to be recognized by the model. Each "button" on the "controller" will correspond to a class, which should correspond to a body pose. Students can thus add actions like attack or jump, provided they can strike unique poses that represent those actions.
- Test out the Up, Down, Left, Right, Nothing model by forking this player controller and loading in your model as the URL:This project can serve as a template for a custom game. If students train their models with time to spare, they should start working on their own games.
Control a game with your body.
Build on the previous day's work — create a game that you can control using the model that recognized your actions. This project can get you started:
but students should feel free to build their own games from scratch. Some ideas:
- FlAIppy Bird Exercise Game — get those Jumping Jacks in!
- SnAIke — eat apples, grow longer, and don't run into your own tail.
- Space InvAIders — move left and right but also make a command (a pose) to shoot.
- mAIrio Kart — a driving game where you can steer by tilting your head.
Have students demo their games and play each others'. This activity is a great jumping-off point for more sophisticated and long-term independent project.
Use existing models for even fancier projects.
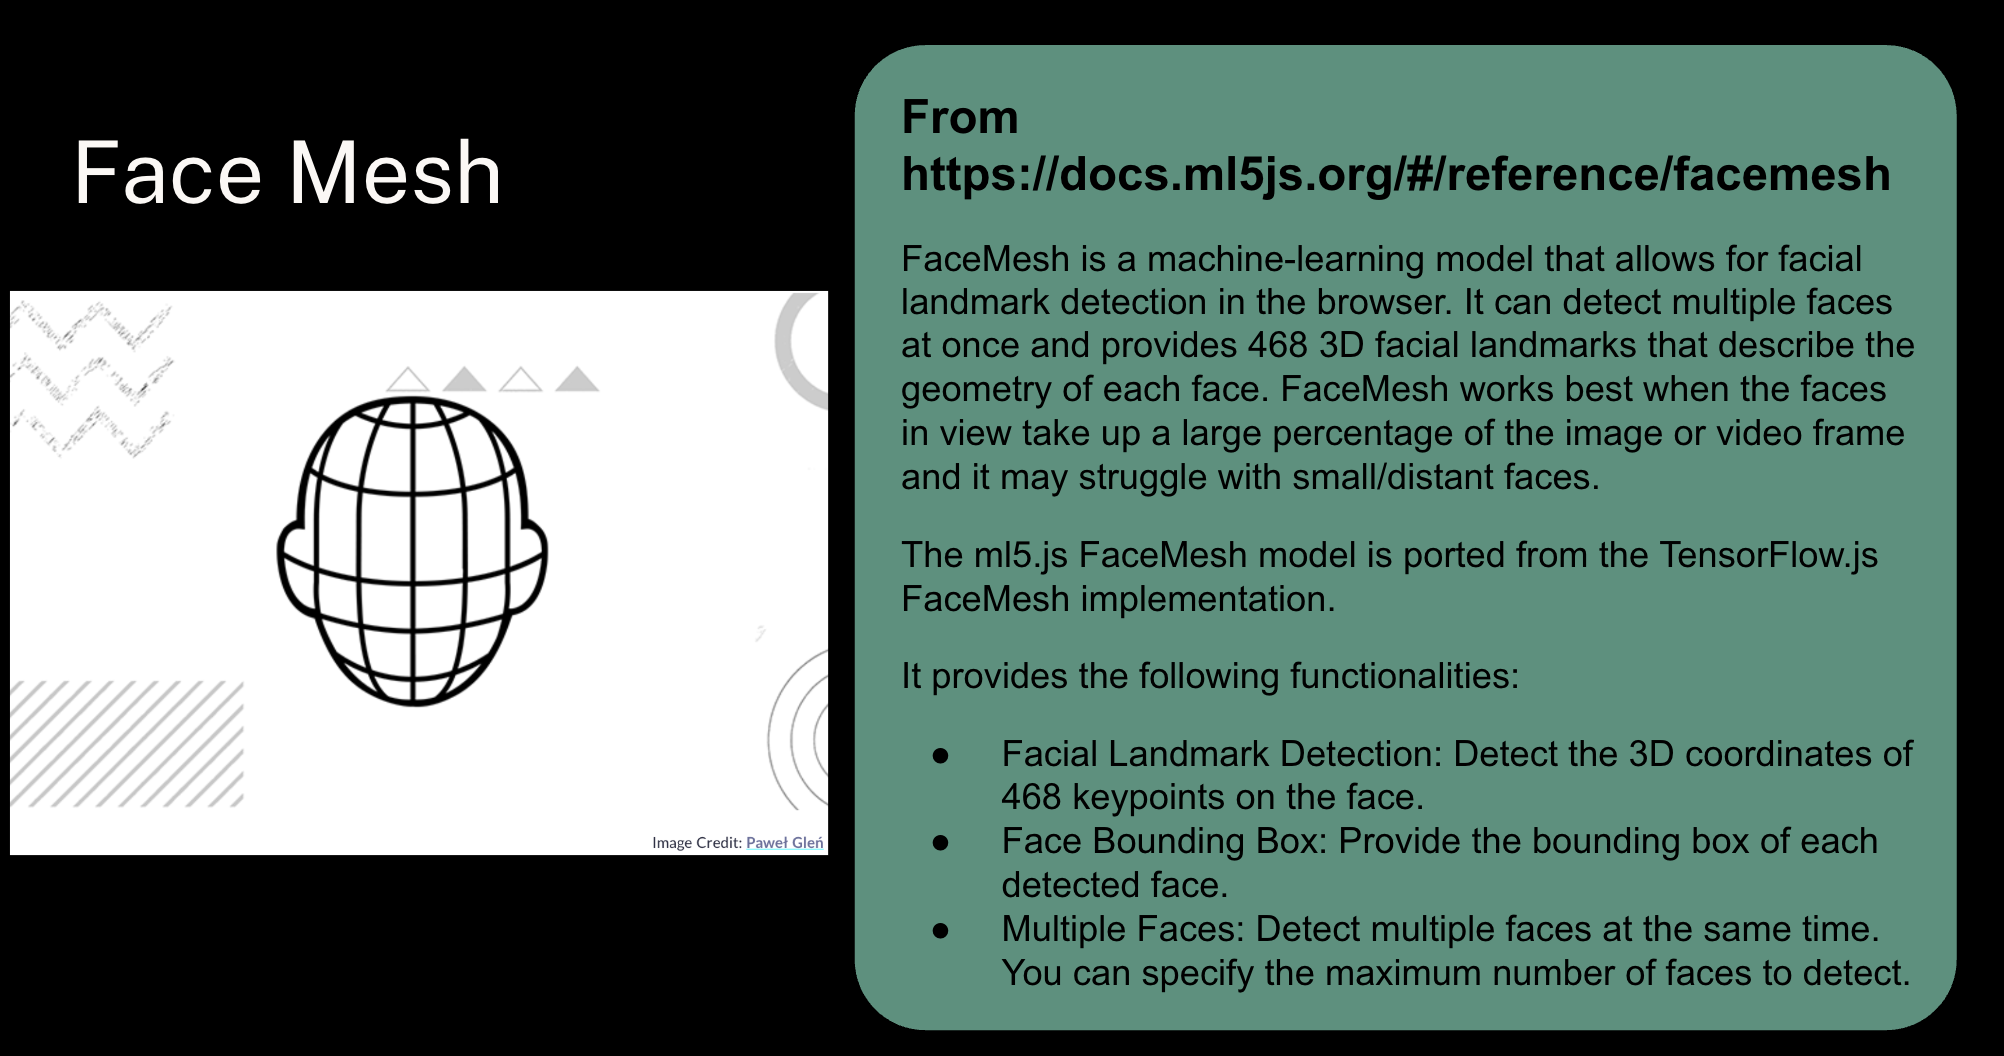
BodyPose and FaceMesh are existing pre-trained ML models from ML5js you can use for all sorts of purposes. Since you don't have to train them yourself, you can focus on programming applications — make games or art projects built on top of the models!
Check out some starter projects to spur inspiration:
BodyPoseThis project shows all the tracked key points of the body pose:
This project uses just the nose key point of the same body pose model to play a simple game:
This project uses the FaceMesh model to track key points on the face:
This project uses the FaceMesh model and an image projected onto it to create a video filter, like Zoom, Snapchat, or TikTok face filters:
The next two projects help users to create images that can be used in the video filter project above. Just create your filter images with one of these, fork the above project, load in your image and use Jippity to swap out the old image for your new one. These projects include a 2D projection of a face mesh to help you position your image. Think of it like a globe vs a flat map, but for your face.
The first project allows users to draw on a canvas and use that as their filter image:
The second project allows users to load in an image to use as their filter:
Give students time to check out each of the projects, and then have them build or customize their own projects using the models.
Let it rip!
Have students build their own games or interactive artworks using their choice of model: the pre-trained ML5js BodyPose, ML5js FaceMesh, pre-trained DoodleNet model, any of their own custom models from previous projects, or a new model they've trained on Teachable Machine. Start from one of the templates from last time or build from scratch. Leave time to demo/present work to the class. Have fun with it!