The projects in this course are each self-contained and take about an hour to complete. Each project has optional ideas for further exploration and extensions. These projects are designed for the Code.org Hour of Code and Code.org Hour of AI.
Notes and recommendations:
- If students don't already have Jippity accounts, they can get 30 days of free access for Hour of AI.
- The course is accessible to new programmers, but students need some basic computer literacy, especially in saving and loading images to their computers for projects 2 and 4.
- The projects are not related and can be done in any order.
- Example games, and some templates for students to fork and use as a starting point, are linked in each project for reference.


Make a simple game with the help of AI in under an hour.
The goal of this activity is to make a simple video game and understand how to partner with an AI assistant to bring your ideas to life.
We will create an arcade-style space shooter game for this project, after which students will have a basic understanding of how to use an AI assistant to create different games.
Sample Project
Start with a Prompt
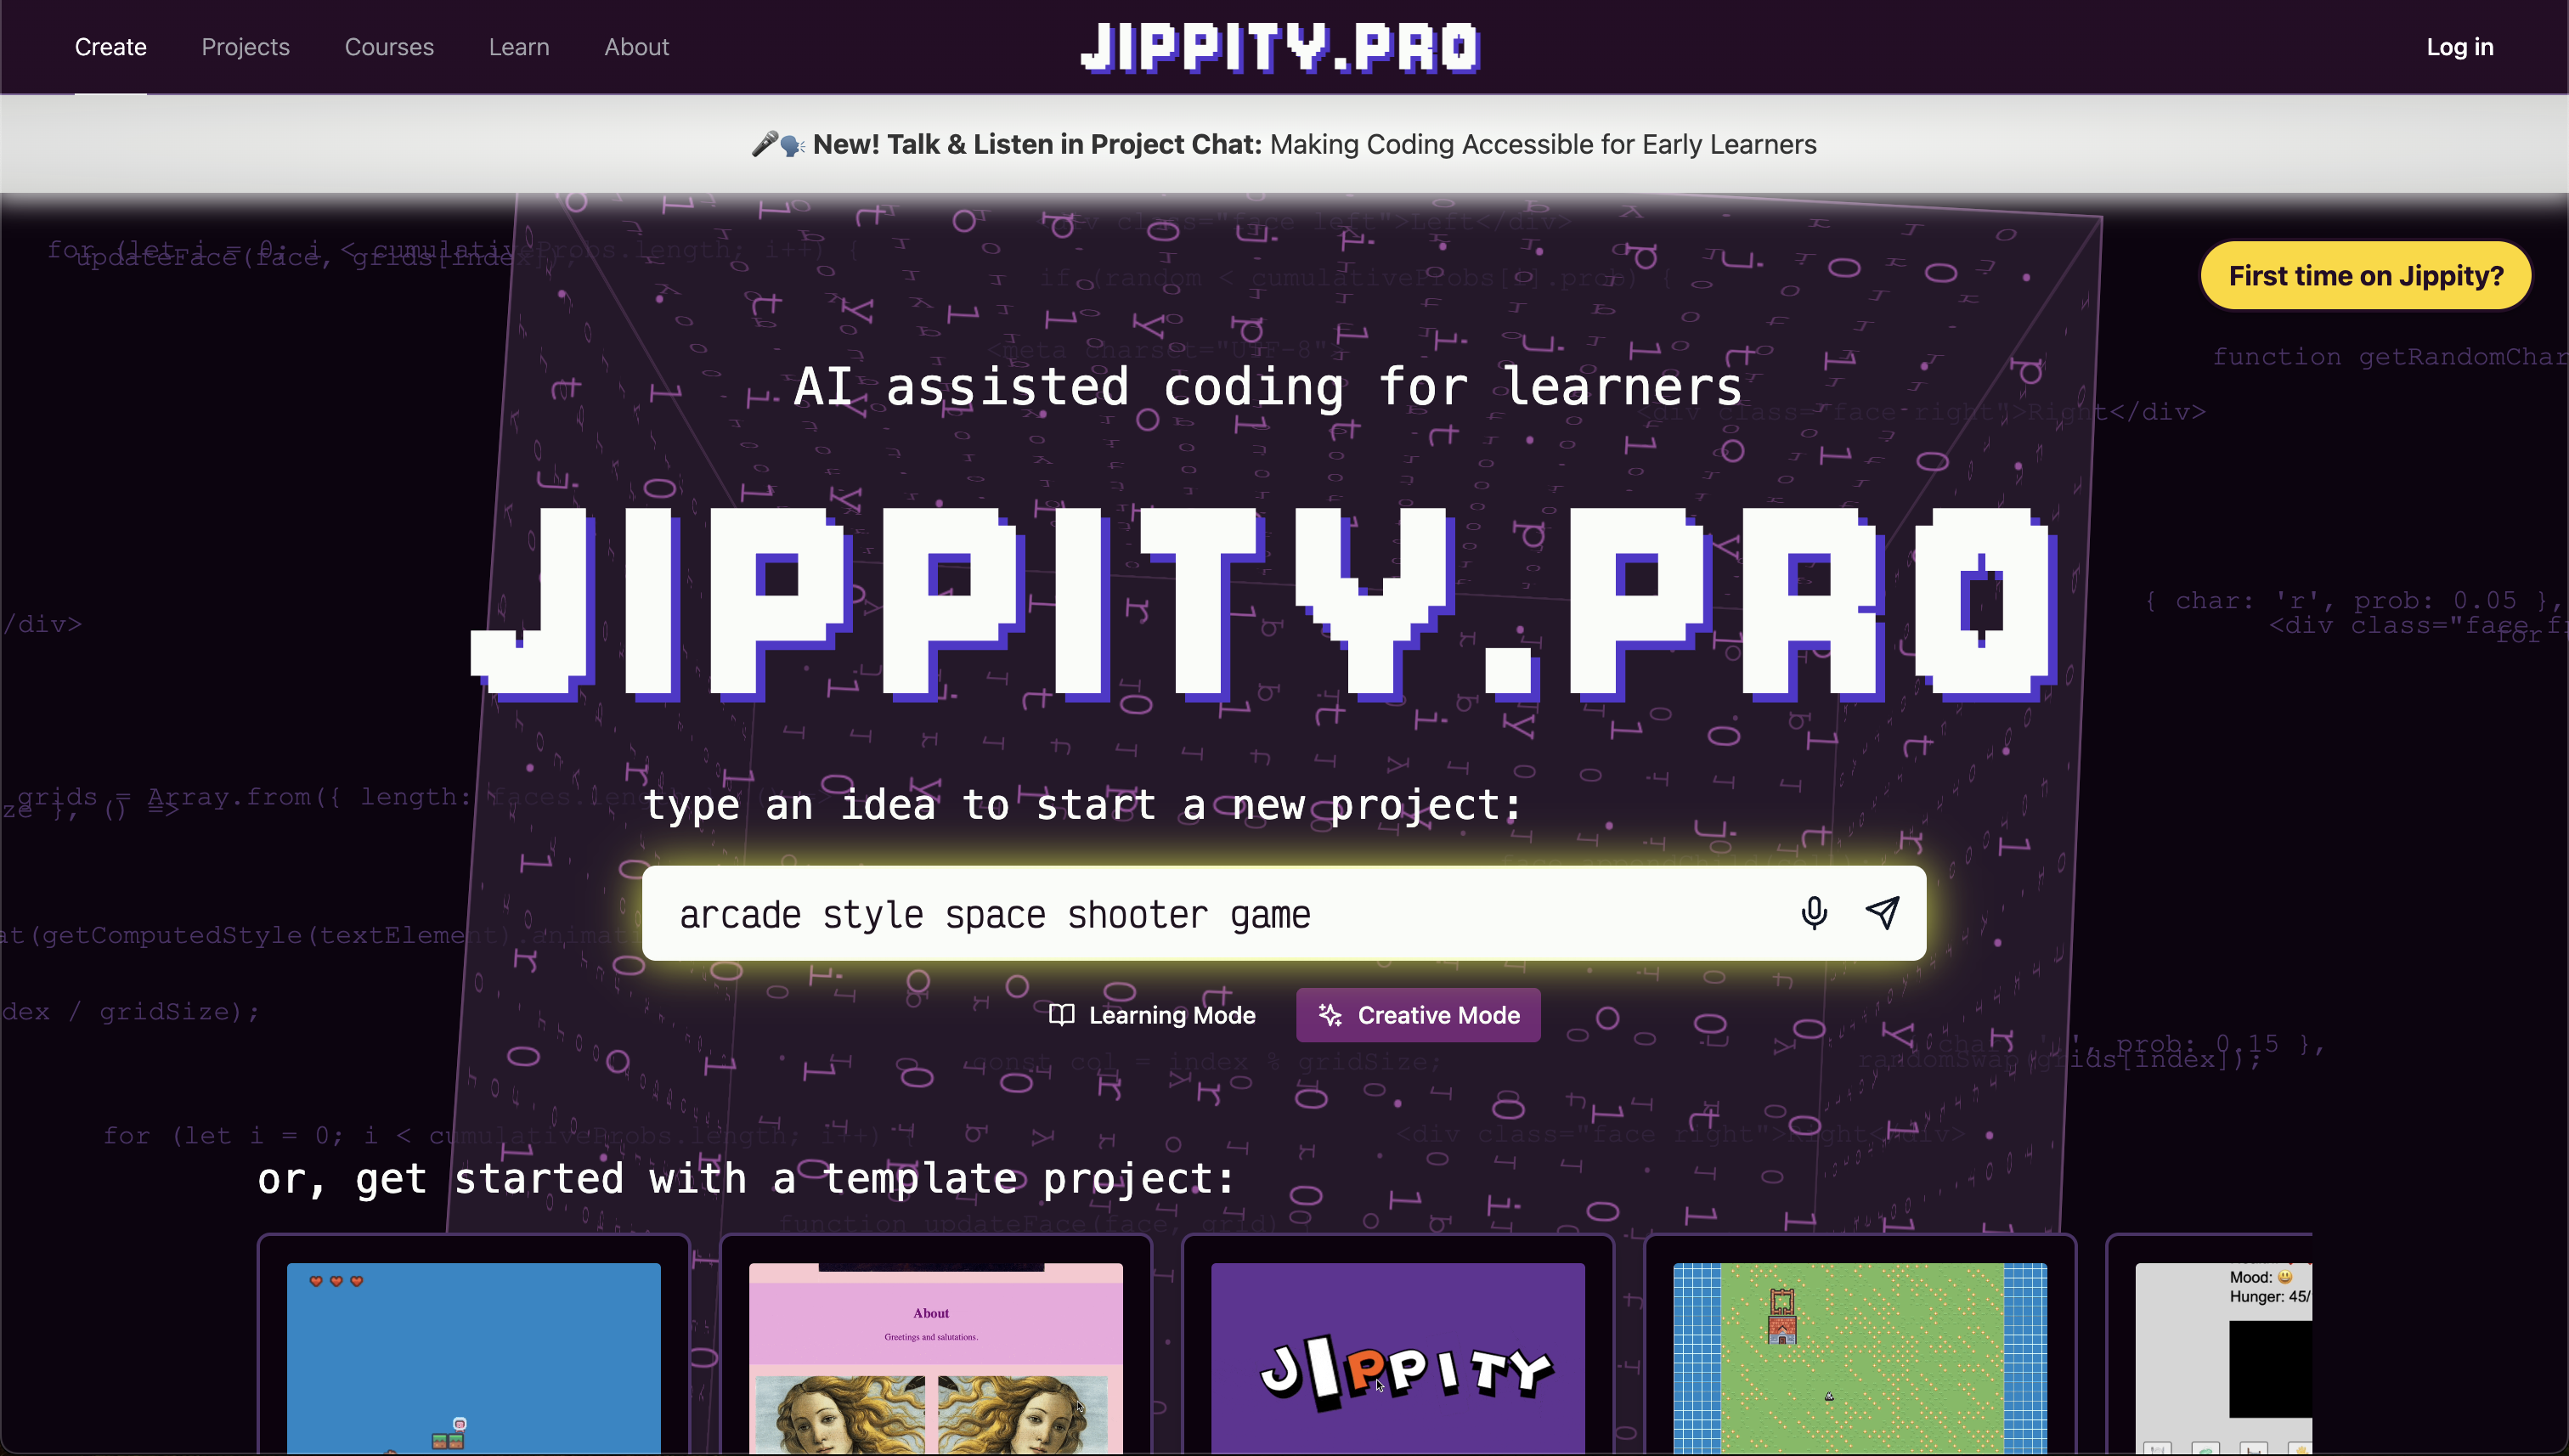
Click to open Jippity's Home Page in a new tab.
In the big input box, type arcade style space shooter game and press enter.
Choose a Player Asset
Before we start coding, let's select an image for our player from the asset library.
Click the purple Assets button on the top menu bar, then click
Asset Library
and search for ship.
Click the ship asset that you want to use for your player to add it to your
project. Then close the Asset Panel. You'll see some code has appeared in the chat to help
you load your new asset - click the Insert This Code! button to add that code
to your project.
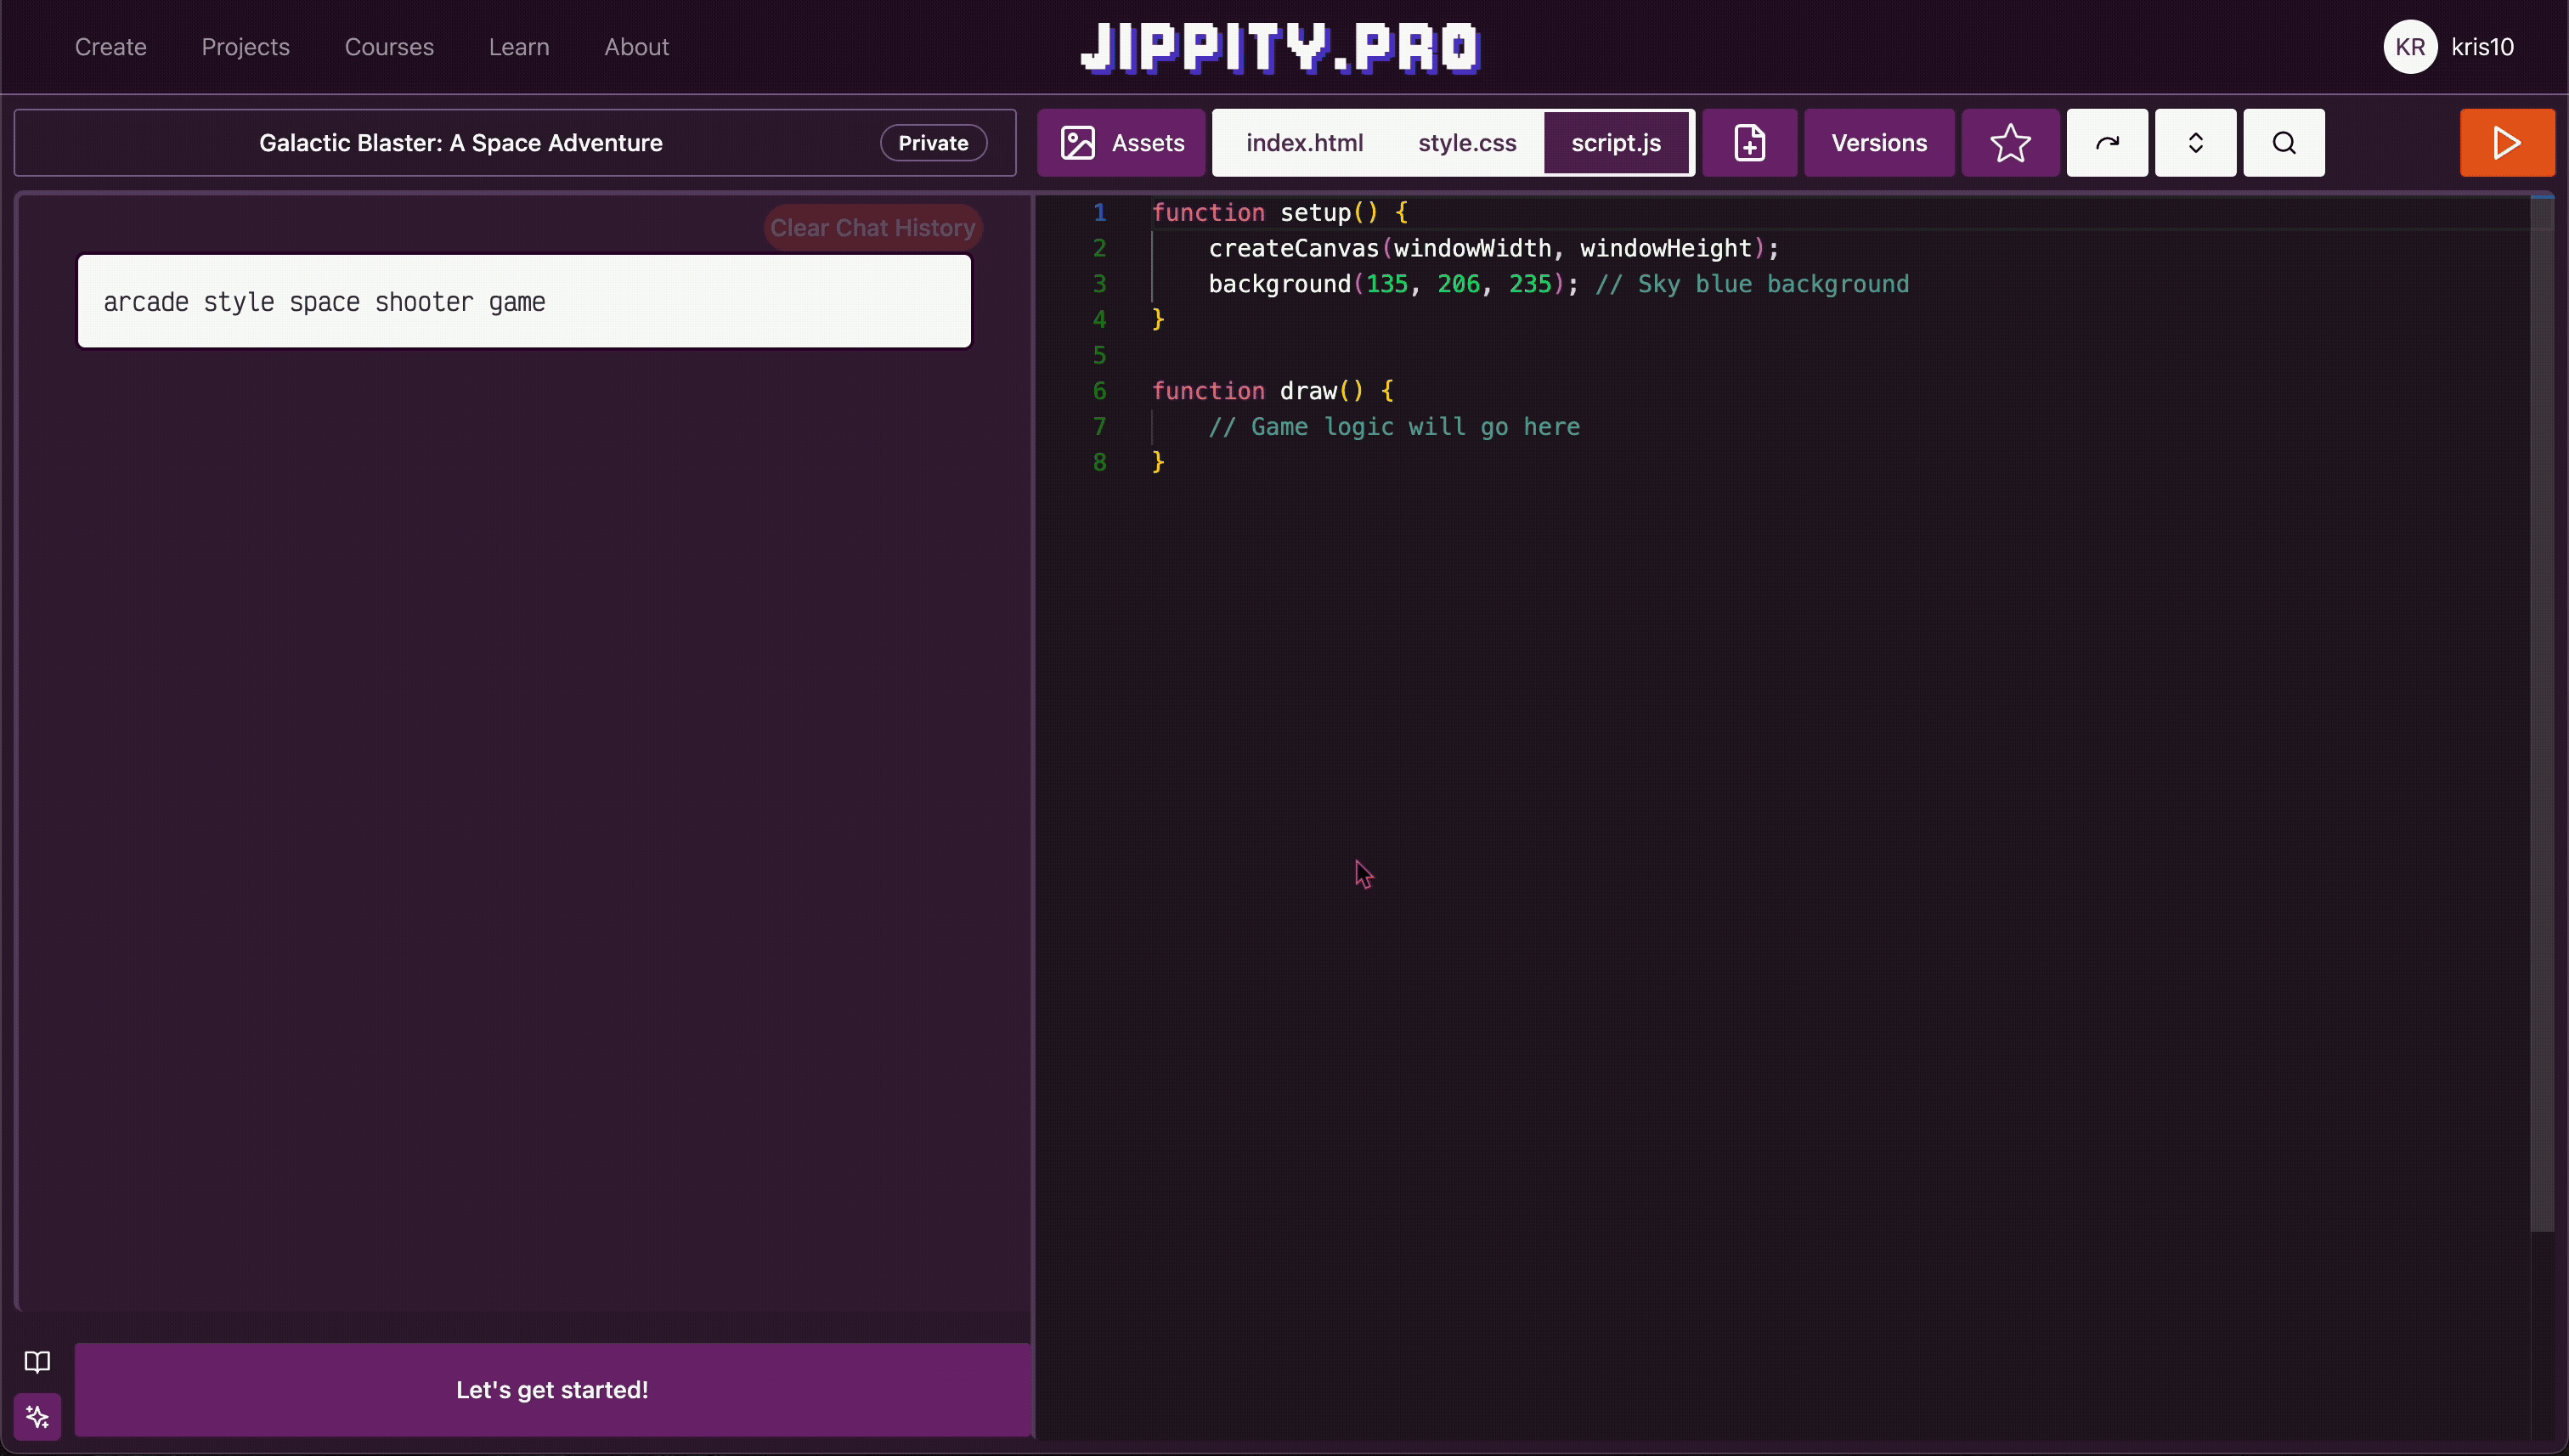
Draw and Move Your Player
Now we're ready to start coding! Click the purple Let's get started! button on
the bottom left area of the screen.
Jippity will ask for more details on your project. We'll start with the basics - drawing and controller a ship on the screen. Ask Jippity to draw your ship on the bottom of the screen and move it left and right only with the arrow keys.
Use a prompt like:
draw my ship on the bottom of the screen and move it left and right only with the arrow
						keys
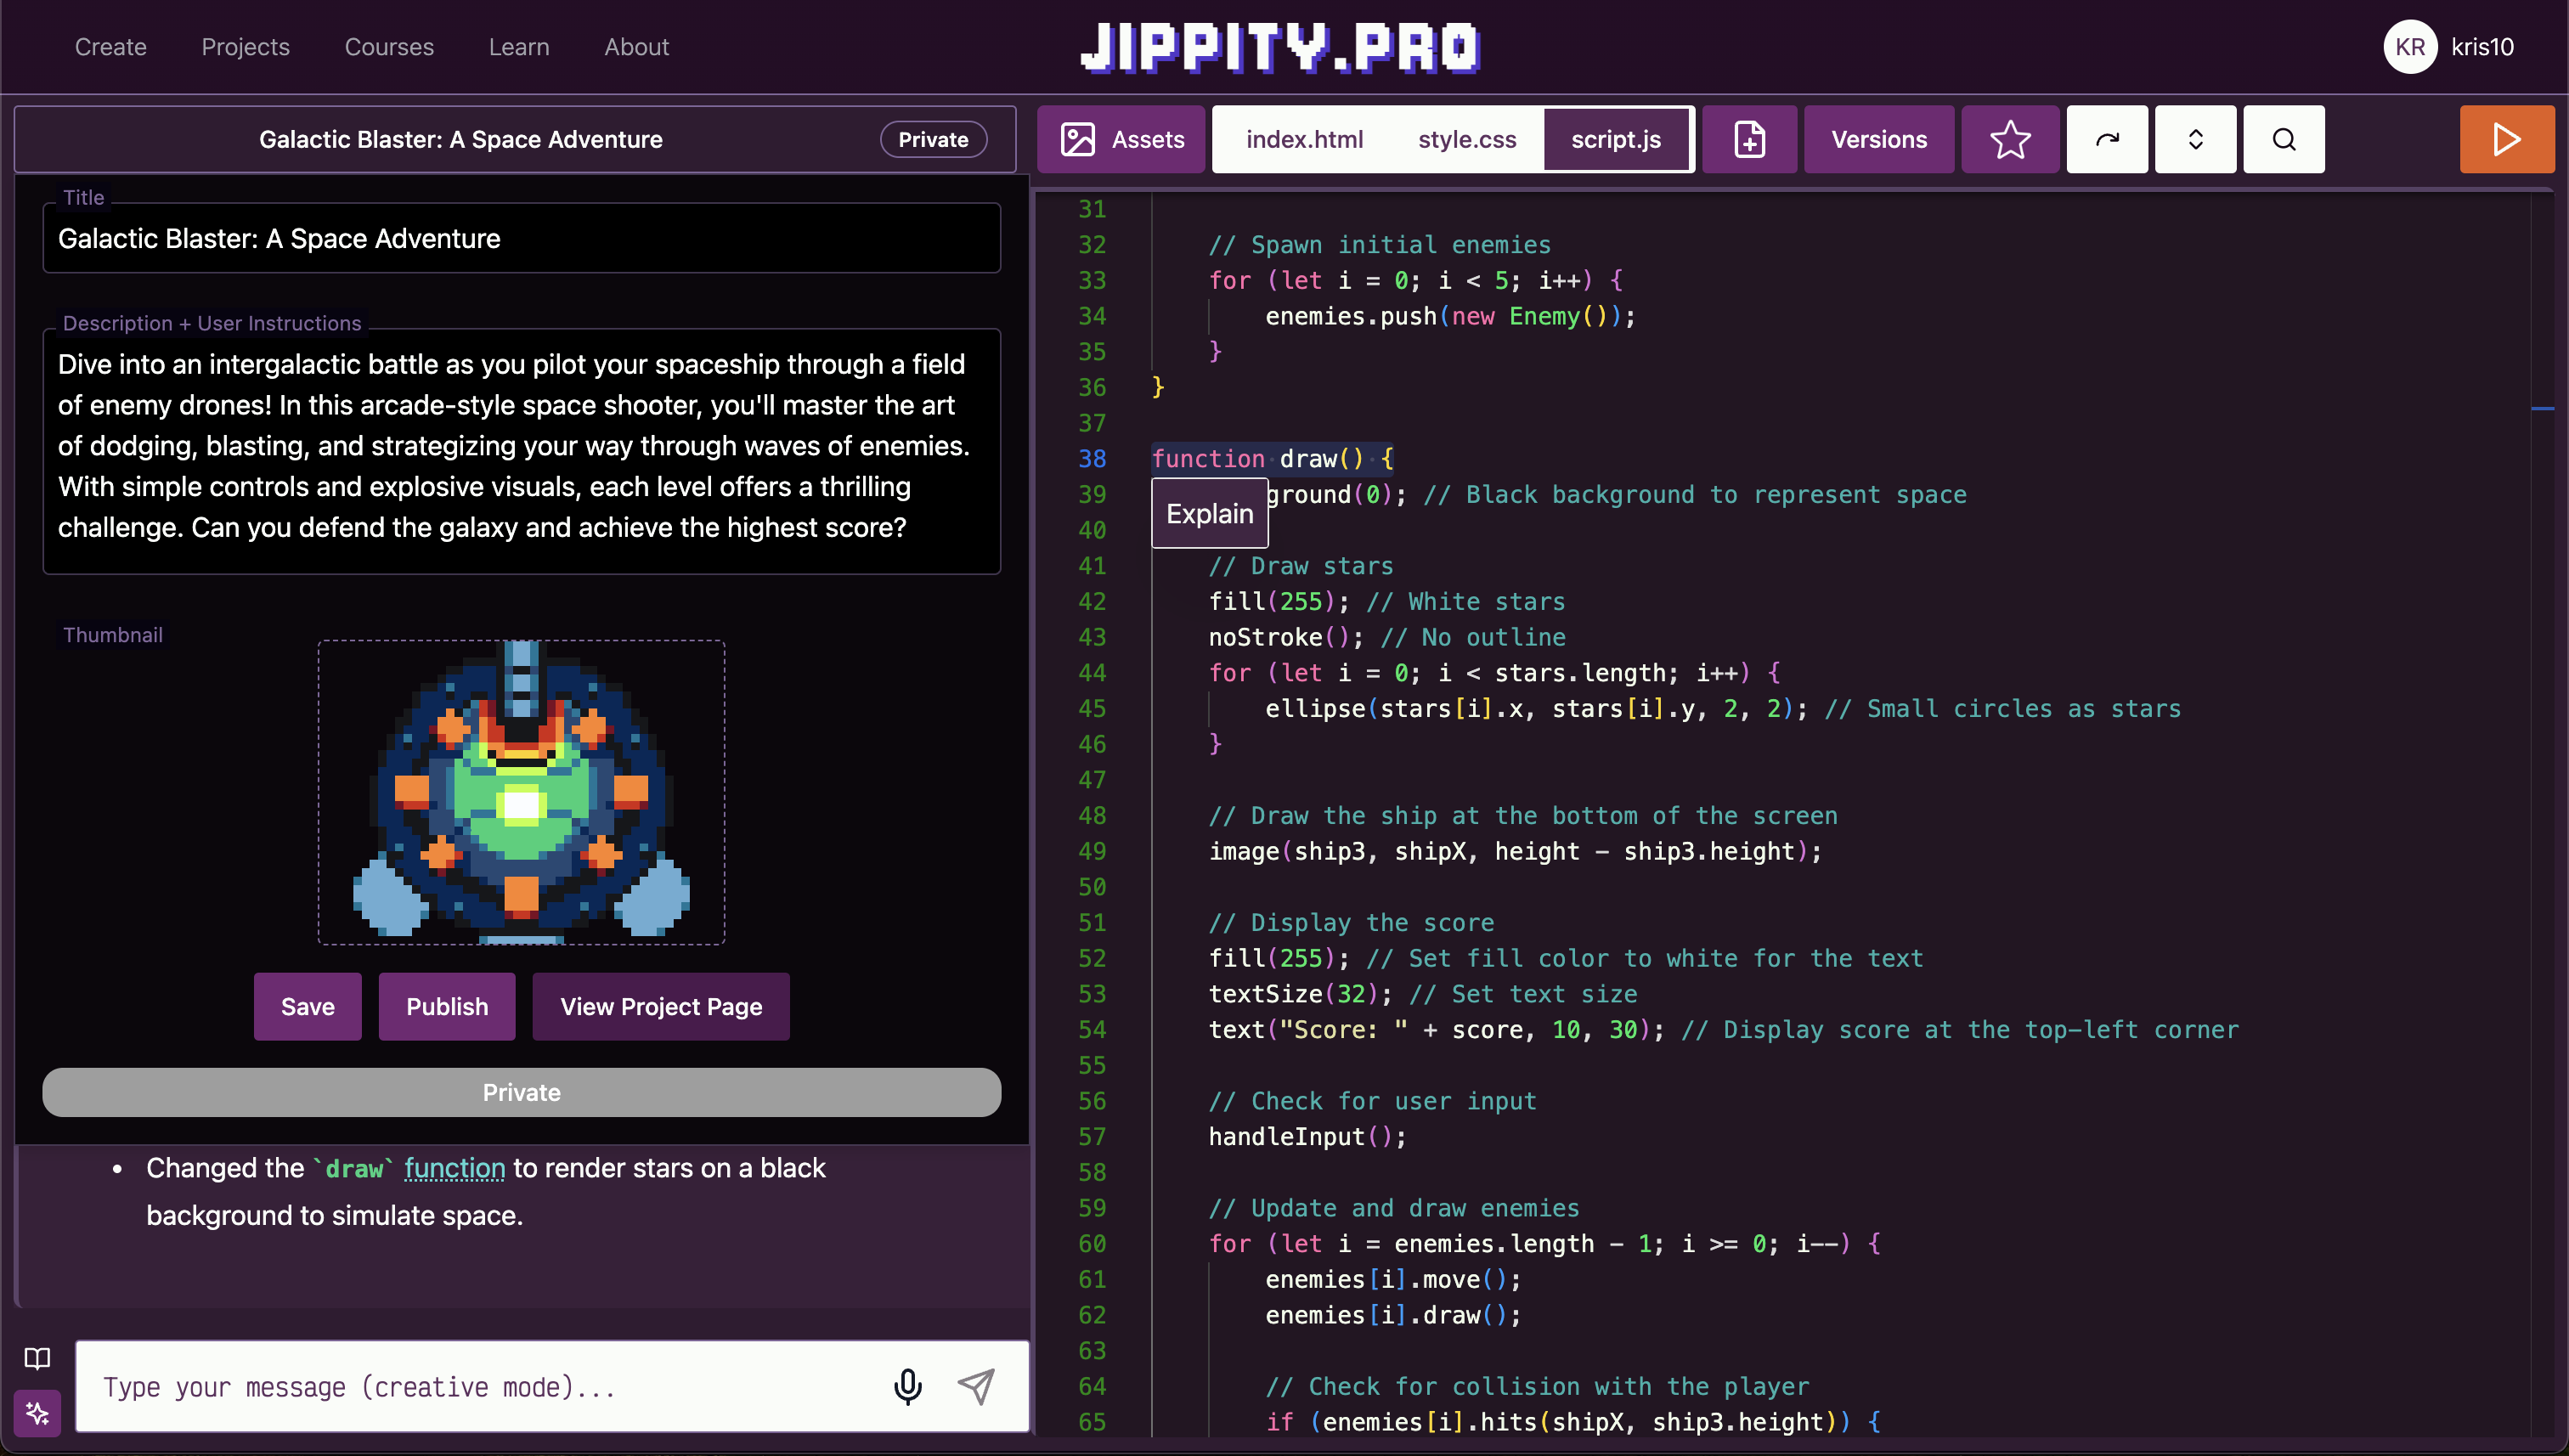
Jippity will respond in the chat with a plan, some code, and an explanation of the code.
You'll need to click the Insert This Code! button to add that code to your project.
Sometimes there will be multiple code blocks in the chat responses. Make sure to scroll through and insert them all into your project.
After adding the code, click the Run button in the top right corner of the screen
to test your game.

You'll need to click inside the preview window to give the game your keyboard inputs, and test your arrow key controls.
If you see a logs window in the way of your game, you can click the
Hide Logs button at the top of your game preview window to hide it.
Add Enemies
Now we'll add enemies to our game.
First, open the Asset Library again and filter using the Tags for
character, or search for ship again and choose another image for
your enemy.
Click the image you want to use to add it to your project, close the Asset Panel, and Insert the preloading code that appears in the chat to your project.
To draw these enemies in your game, use a prompt like:
spawn the new art as enemies at the top of the screen and move them down towards the
						player. They die if they hit the player or the bottom and continue to spawn
Jippity will respond in the chat with a plan, some code, and an explanation of the code. Read the responses carefully to make sure the AI is providing code with the behavior you want in your game. You may need to go back and forth with the AI to get the code you want.
Once you are happy with the response, make sure to insert all of the relevant code blocks into your project.
After adding the code, click the Run button in the top right corner of the screen
to test your game.
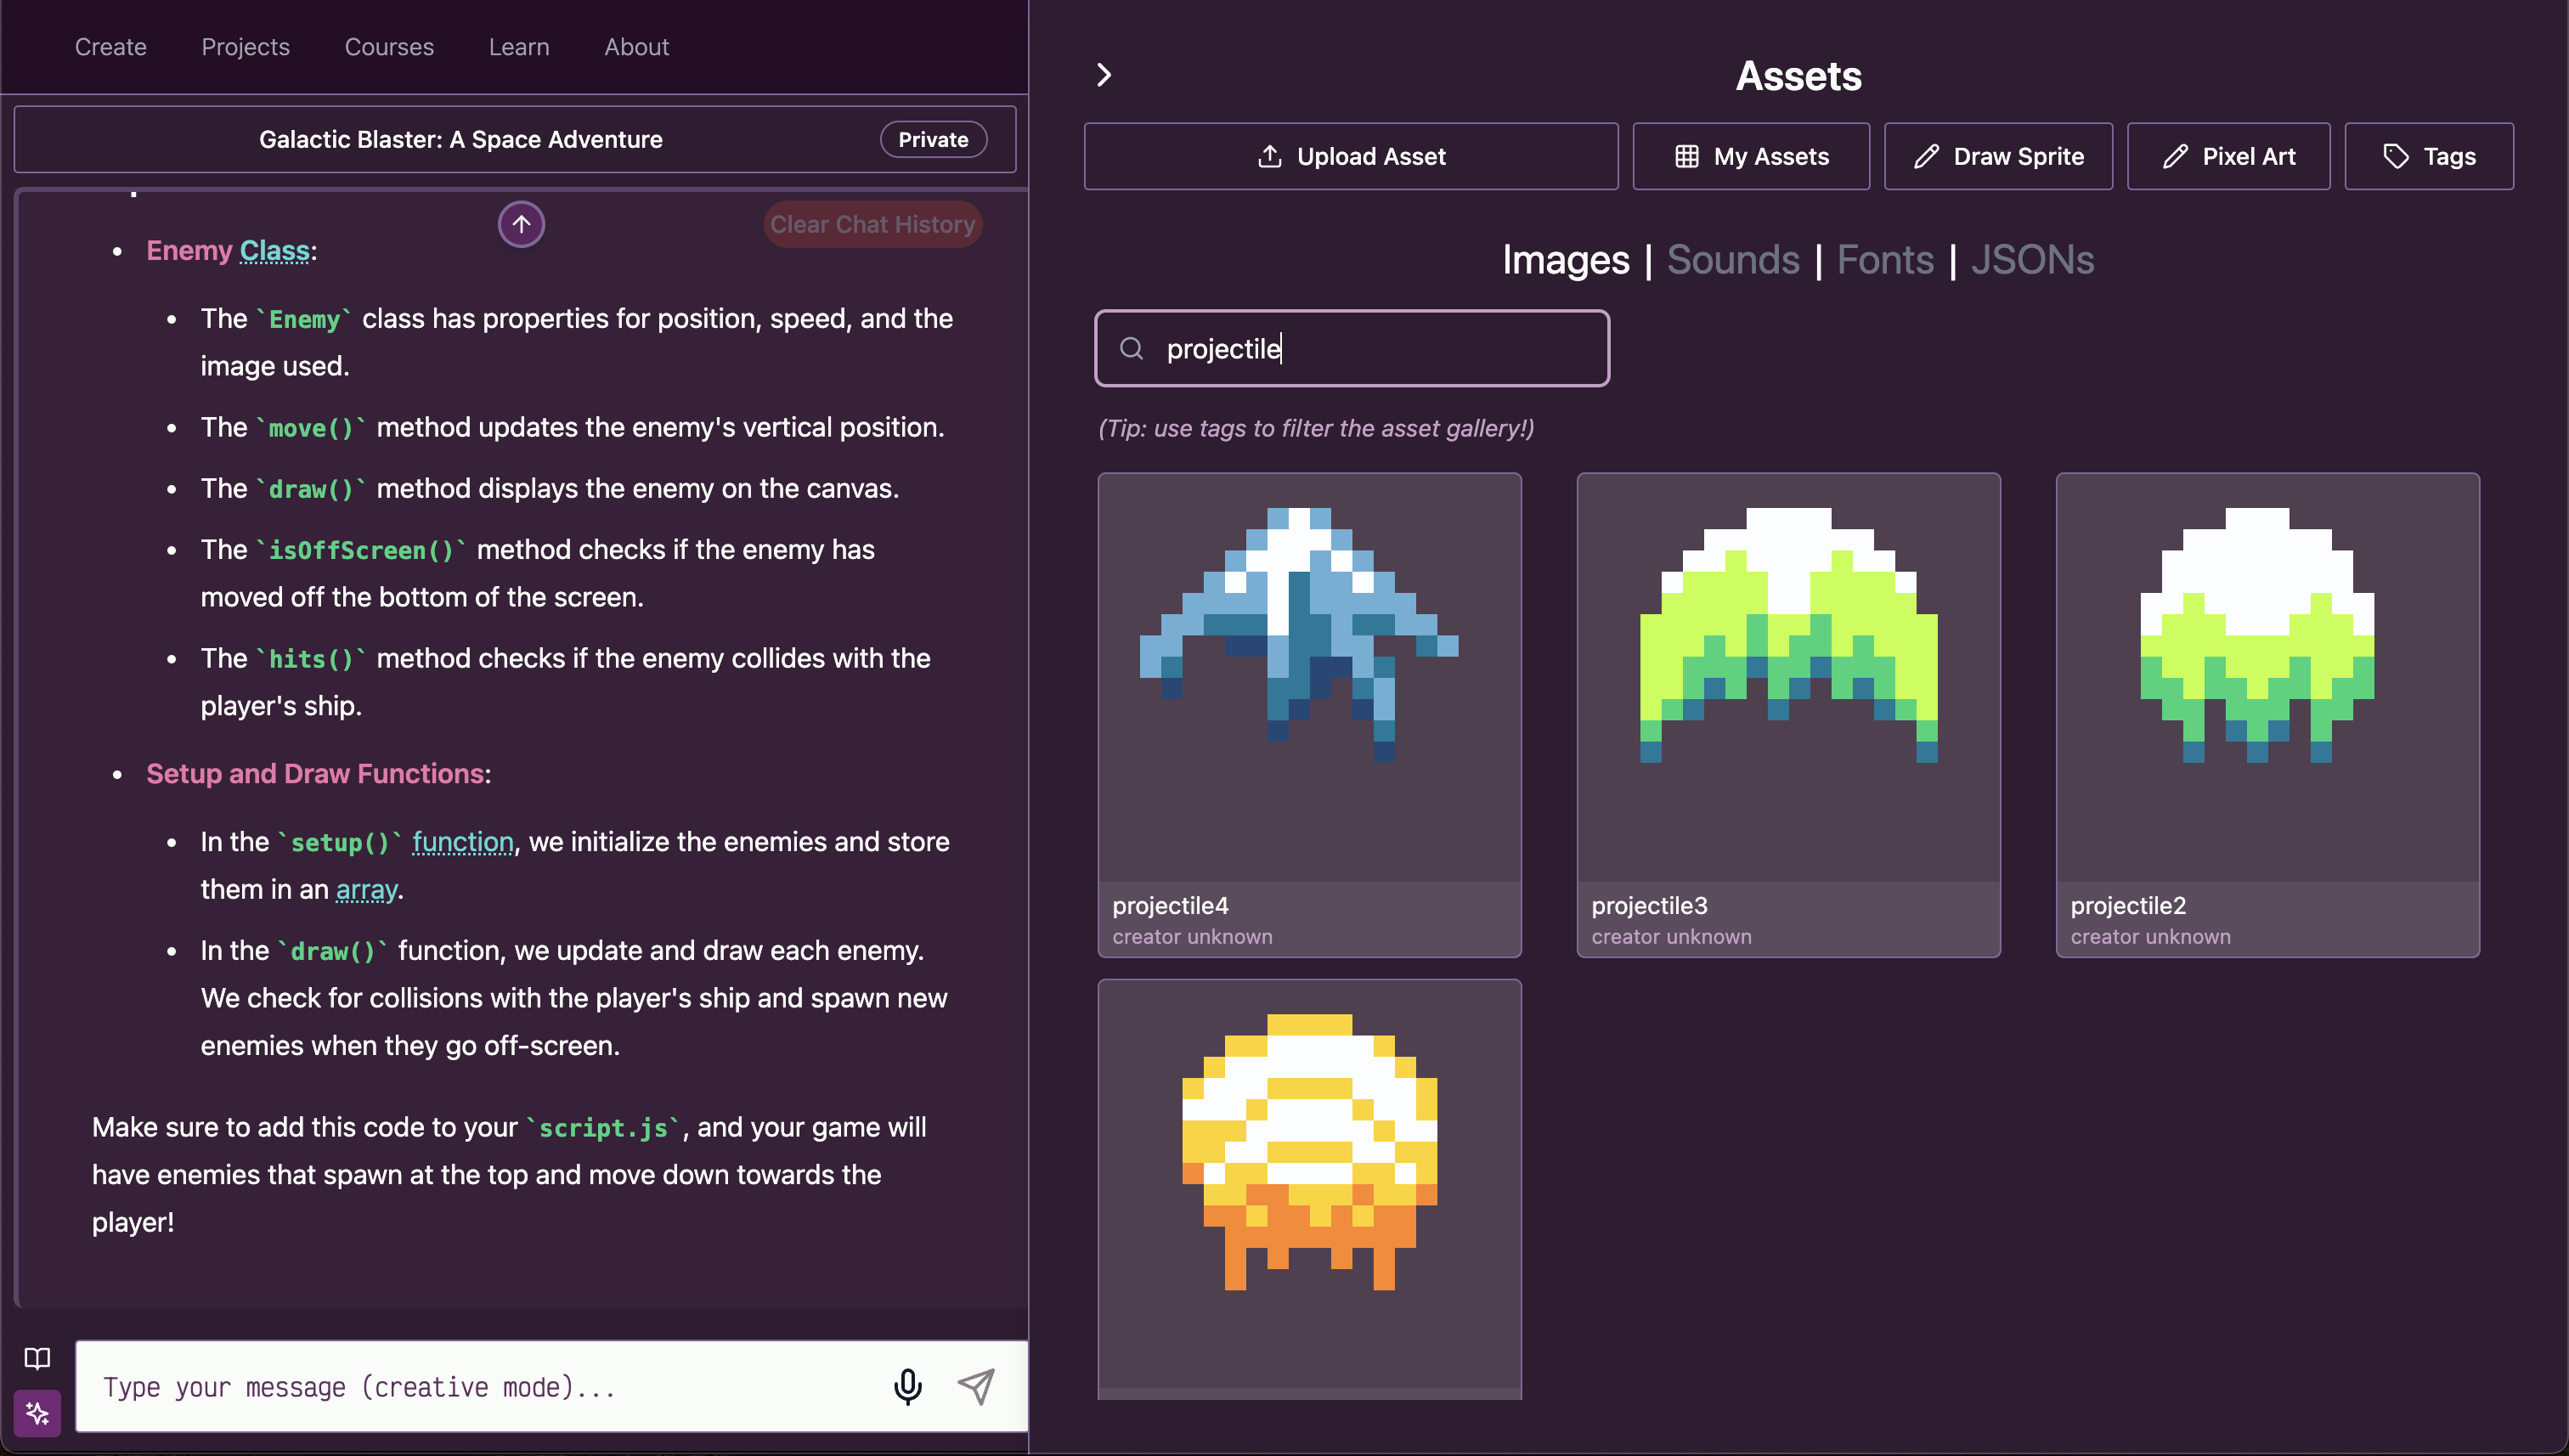
Player Shooting
Now we'll add a shooting mechanic to our game.
Open the Asset Library again and search for projectile and choose an image for
your projectile.
Use Jippity to add a shooting mechanic to your game. You can use a prompt like:
add a shooting mechanic to the player so that when the player presses the space bar,
						they shoot one projectile at a time, that moves up towards the enemies. If it hits an
						enemy, the projectile and enemy get destroyed and the player scores a point
Just like the previous steps, read the responses carefully to make sure the AI is providing code with the behavior you want in your game. You may need to go back and forth with the AI to ensure it understands what you want and provides the code you need.
Once you are happy with the response, make sure to insert all of the relevant code blocks into your project.
After adding the code, click the Run button in the top right corner of the screen
to test your game.
Modify if Needed
You may need to ask Jippity to help modify the shooting mechanic if it's not working as expected.
For example, if you can hold down the space bar and continuously shoot projectiles, the game will be too easy! Use Jippity to modify the code to only shoot one projectile per space bar press. You can use a prompt like:
modify the code to only shoot one projectile per space bar press
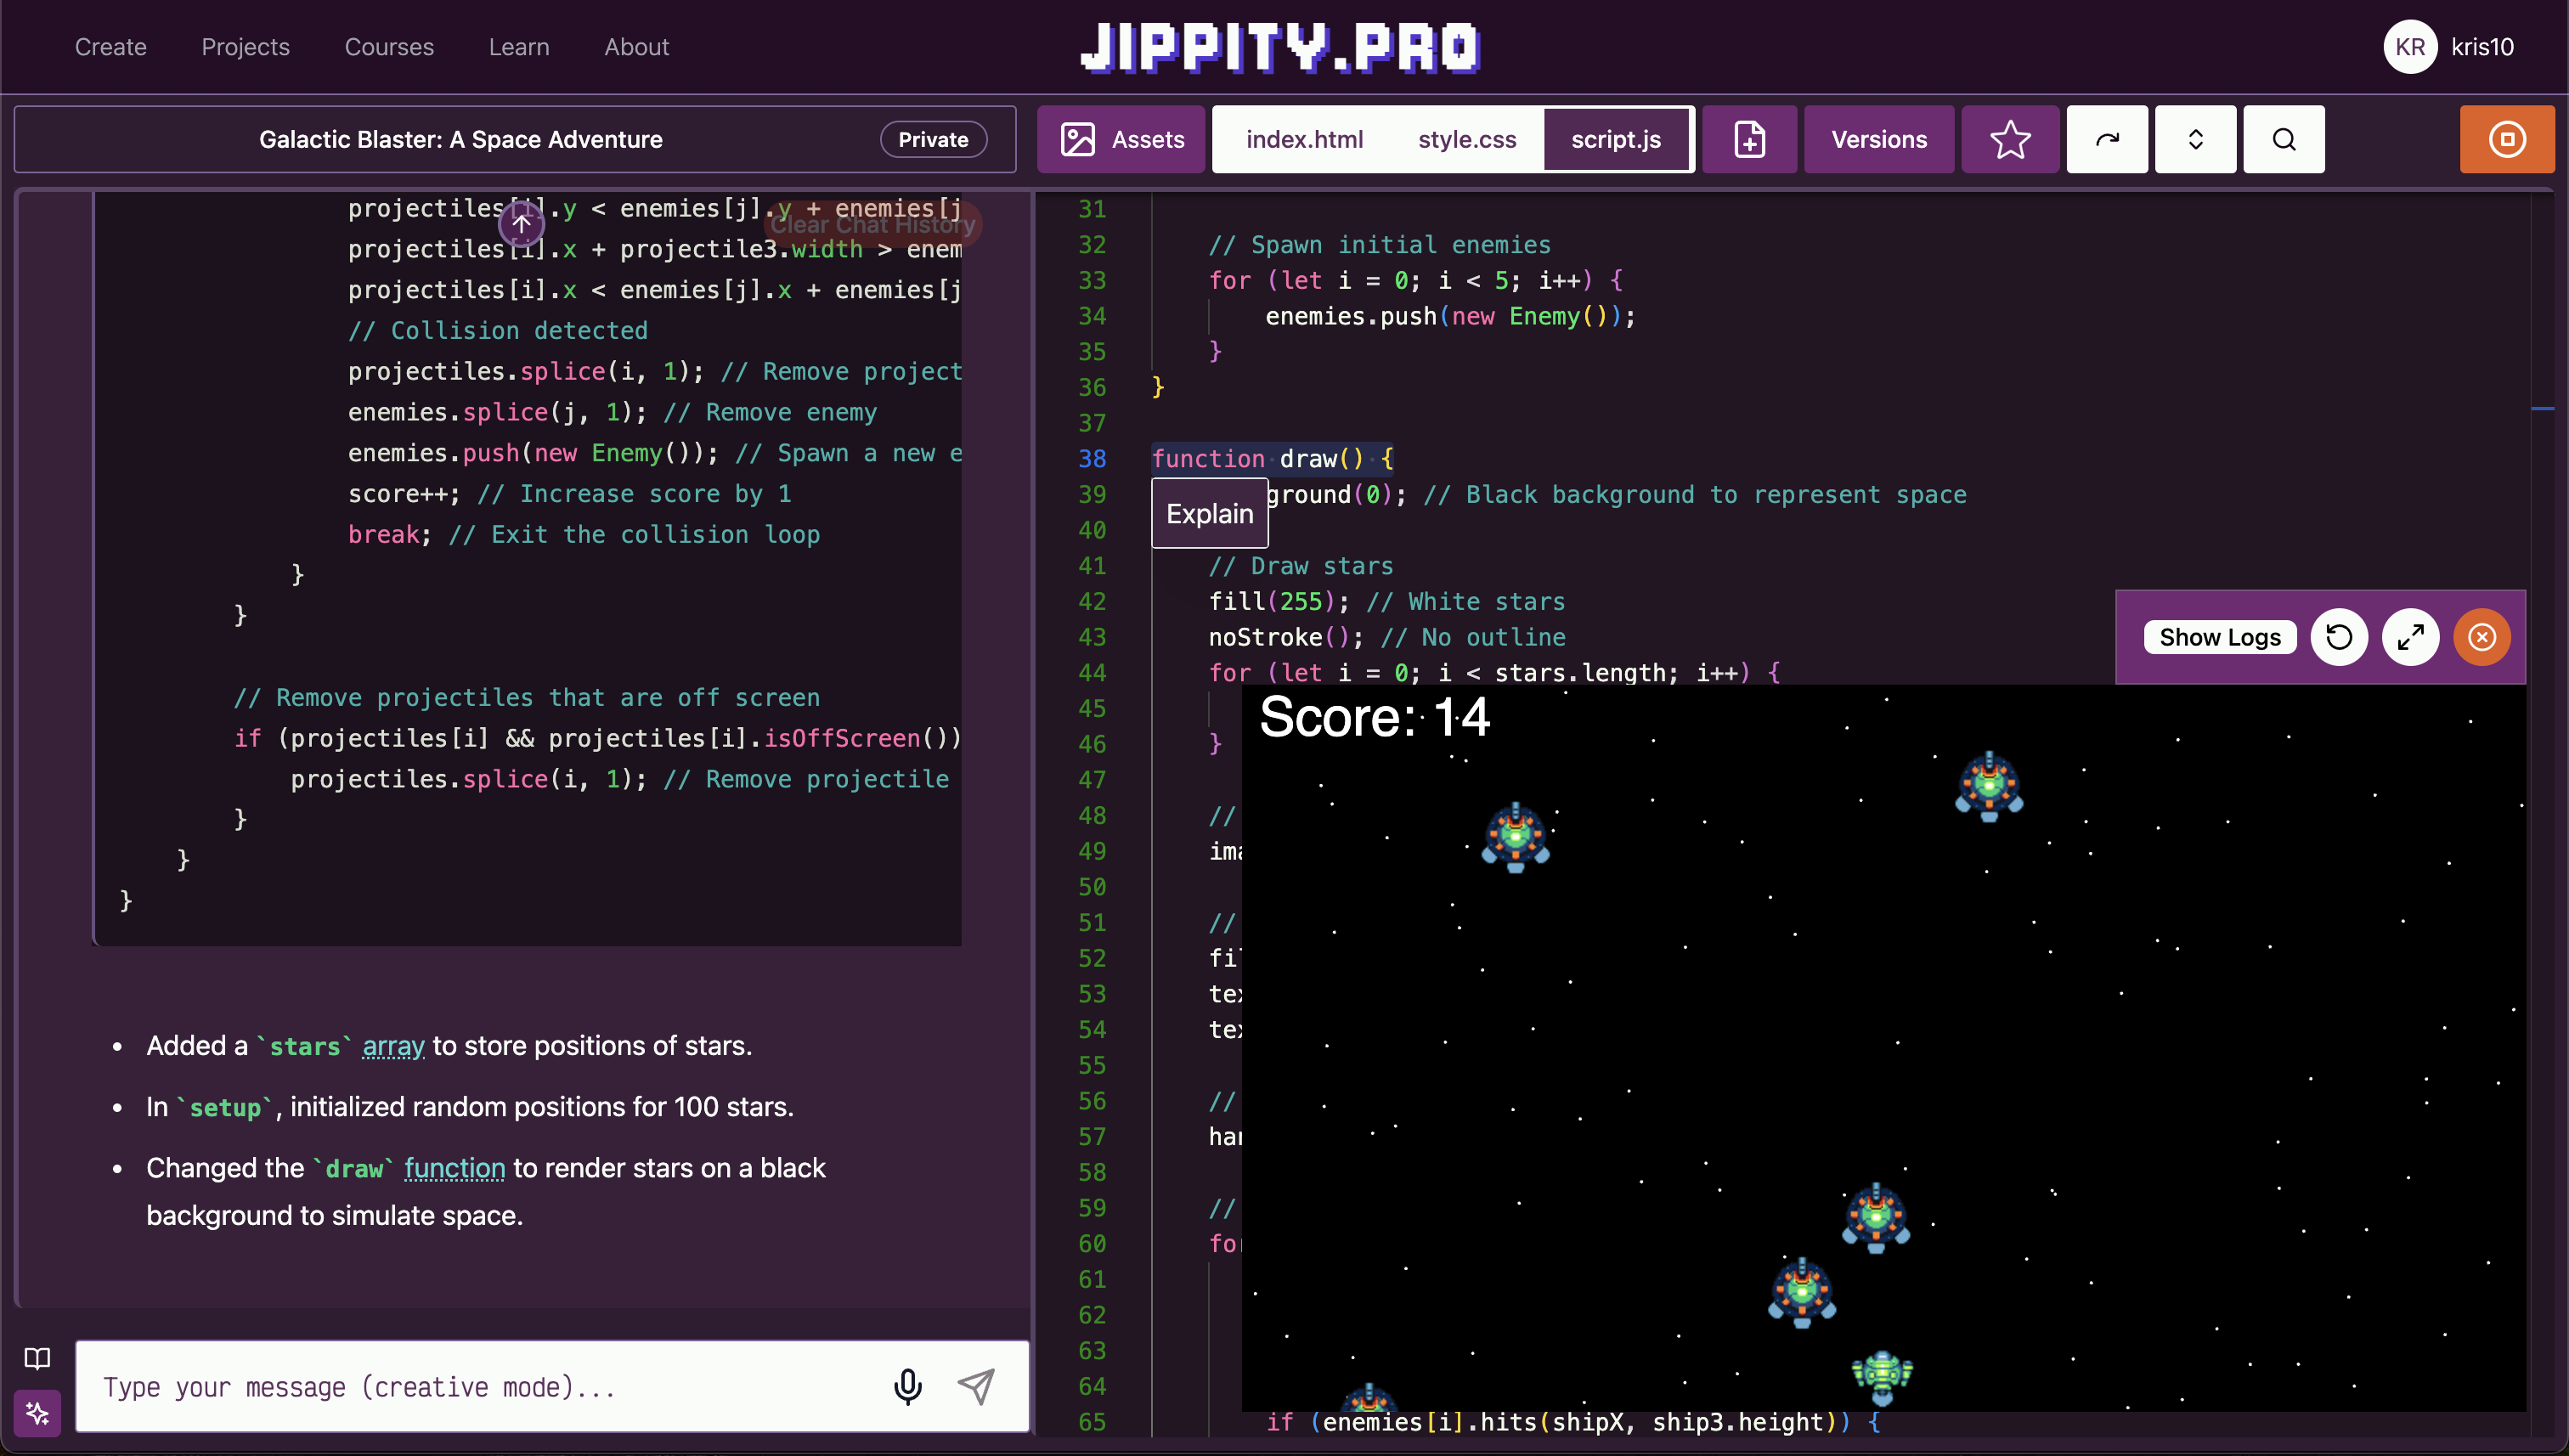
Score and Win
If you're not already displaying the score on the screen, ask Jippity to add a score display to your game. You can use a prompt like:
add a score display to the game so that when the player shoots an enemy, they score a
						point and the enemy is destroyed
Ideas for Further Exploration
Here are a few ideas for continuing to expand this game:
- Change the background to appear more space-themed - just black, a gradient, or animated stars might look right.
- Add a win condition to the game. When the player scores 50 points, they win the game and see a win screen.
- Add lives to the game. When the player loses all of their lives, the game is over. Lives can be represented by text or mini versions of the player's ship.
- Add a start screen, game over screen, and win screen to the game. A start screen could even have difficulty levels to choose from.
- Add powerups that make the player faster, invincible, or shoot more projectiles for a short period of time.
- Modify the gameplay until it feels fun! Should the enemies move faster, slower, or at random speeds? What else can you customize?
Publish and Share
Once you are happy with your game, you can publish and share it with others.
Click the Title button above the chat, and update your game title and
description. Make sure to hit Save after you make your changes.
If you want to publish your game for others to play on Jippity, add a thumbnail, and click Publish
to make it appear in the Projects tab.
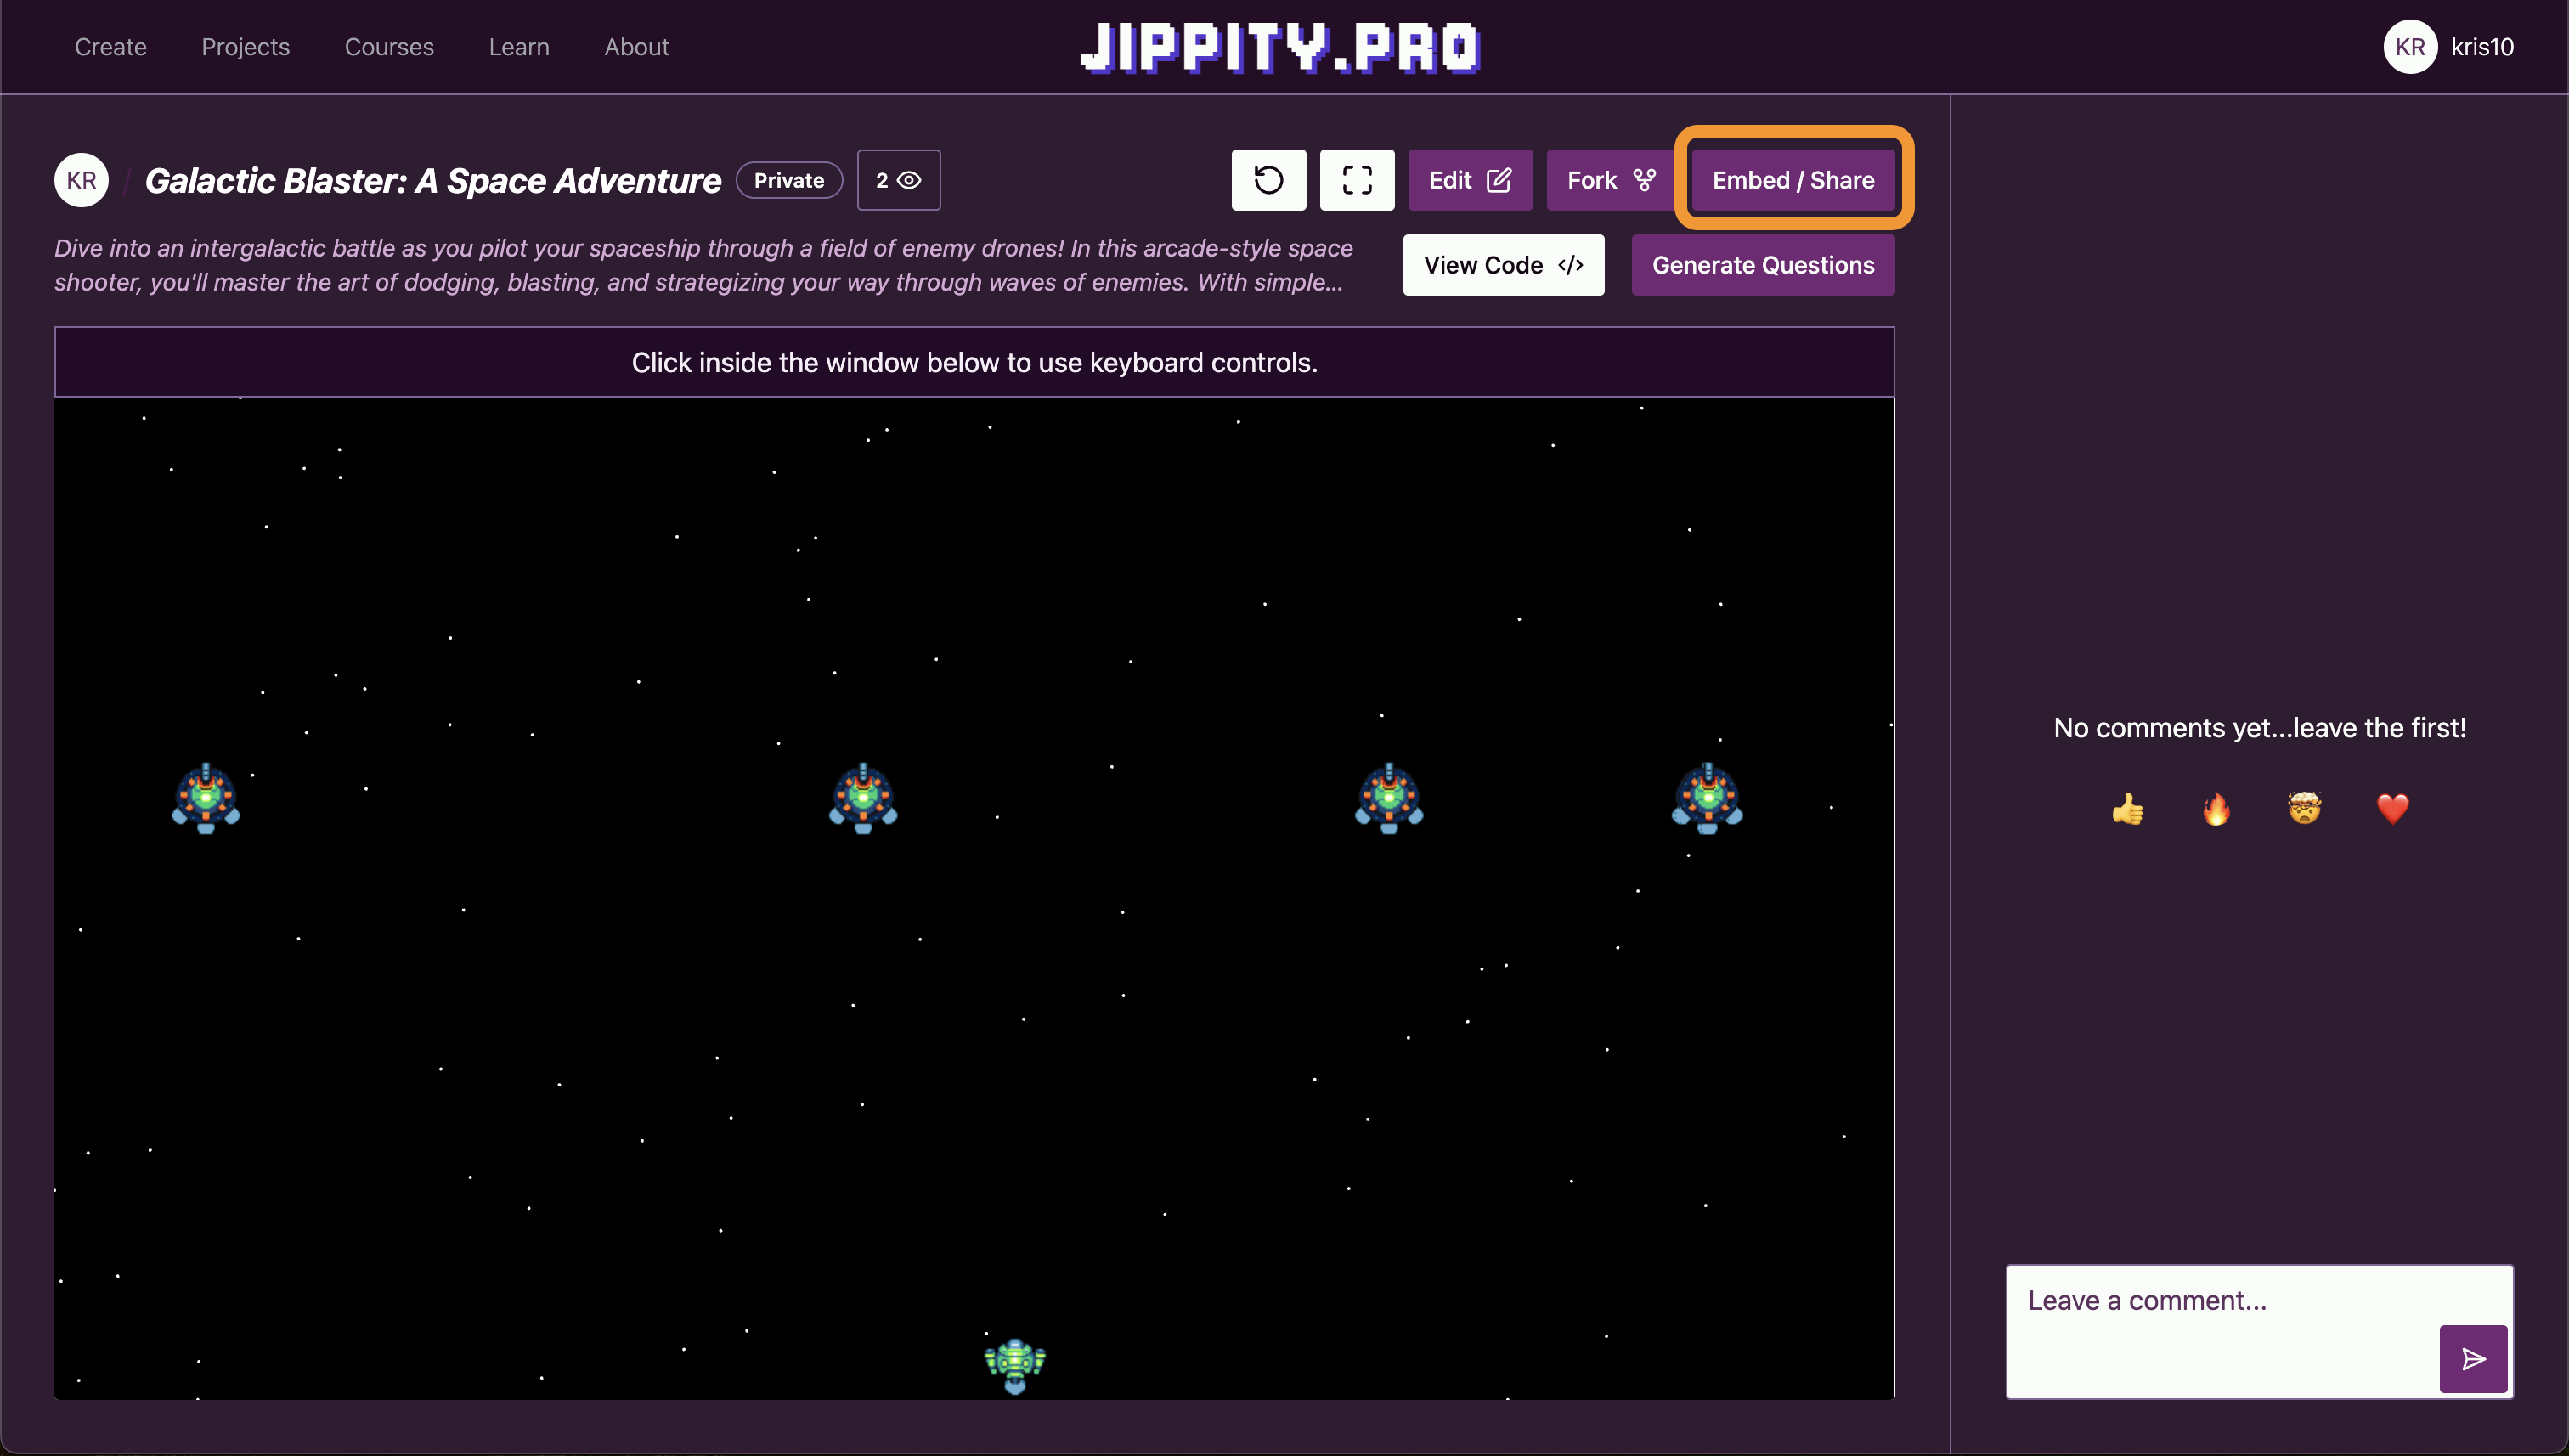
But you don't have to publish your game to share it with others! Click the View Project Page
button to view your game's page in a new tab, where you can find an
Embed/Share button to copy and share the link to your game.
Copy the link and share it with others.
Congratulations, you've built your own video game with AI!
Reach out to us at [email protected] for feedback or questions.
Recognize sketches in real-time.
The goal of this activity is to train your own image-classification model to play Pictionary — that is, to guess what the user is drawing as they're drawing it.
Play with DoodleNet
Spend 5 minutes exploring the DoodleNet base model and its pre-trained categories. Try drawing different objects and see how well the model recognizes them.
DoodleNet categories
Spend 2 minutes exploring the categories of images that DoodleNet can classify. With this new information, spend a few more minutes with DoodleNet again and
see if they can get better results on known categories.
Create Custom Doodles
This project is based on this ThinkCreateLearn project.
- Fork the below project and set up your custom classes - in the code, change
class1Name,class2Name,class3Nameto the 3 categories of doodles you want to classify. - Keep in mind that spelling and capitalization are important! Make sure to be consistent in this step and later in Teachable Machine.
- Draw 3 examples of each class to create your training dataset.
- After drawing each image, click the button for the category it belongs in to save the image to your computer.
Train Custom Model
Use Teachable Machine to train your model with the doodles you created.
Use the below video as a guide to set up categories, upload your doodles, train your model, and copy the url for the next step:
Test Custom Classifier
Test your model using this template project. Simply fork the project and replace the url
for myModel with your model's url from Teachable Machine.
Congratulations, you've built your own image-classification model! This custom model is an expert in recognizing your doodles for the 3 categories you chose.
Ideas for Further Exploration
Turn your custom classifier or the base DoodleNet model into a full-fledged
game.
Jippity's AI assistant can help you turn your ideas into useable code.
Consider:
- What are the rules of your game?
- How do players score points?
- How will you make it fun and engaging?
- What visual and sound effects will enhance the experience?
- Should the player be scored based on how long it takes the bot to guess correctly? Or on number of correct guesses? Do we give the player certain items to draw that we know the model will recognize?
Read more about DoodleNet for additional information and inspiration doing this project.
Reach out to us at [email protected] for feedback or questions.
Create an interactive virtual piano with the help of AI in under an hour.
The goal of this activity is to build a fully functional virtual piano that students can play using either mouse clicks or keyboard keys, and understand how to partner with an AI assistant to create interactive web applications.
We will create a virtual piano with visual keys, sound generation, and keyboard controls, after which students will have a basic understanding of how to use an AI assistant to create musical applications.
Sample Project
Start with a Prompt
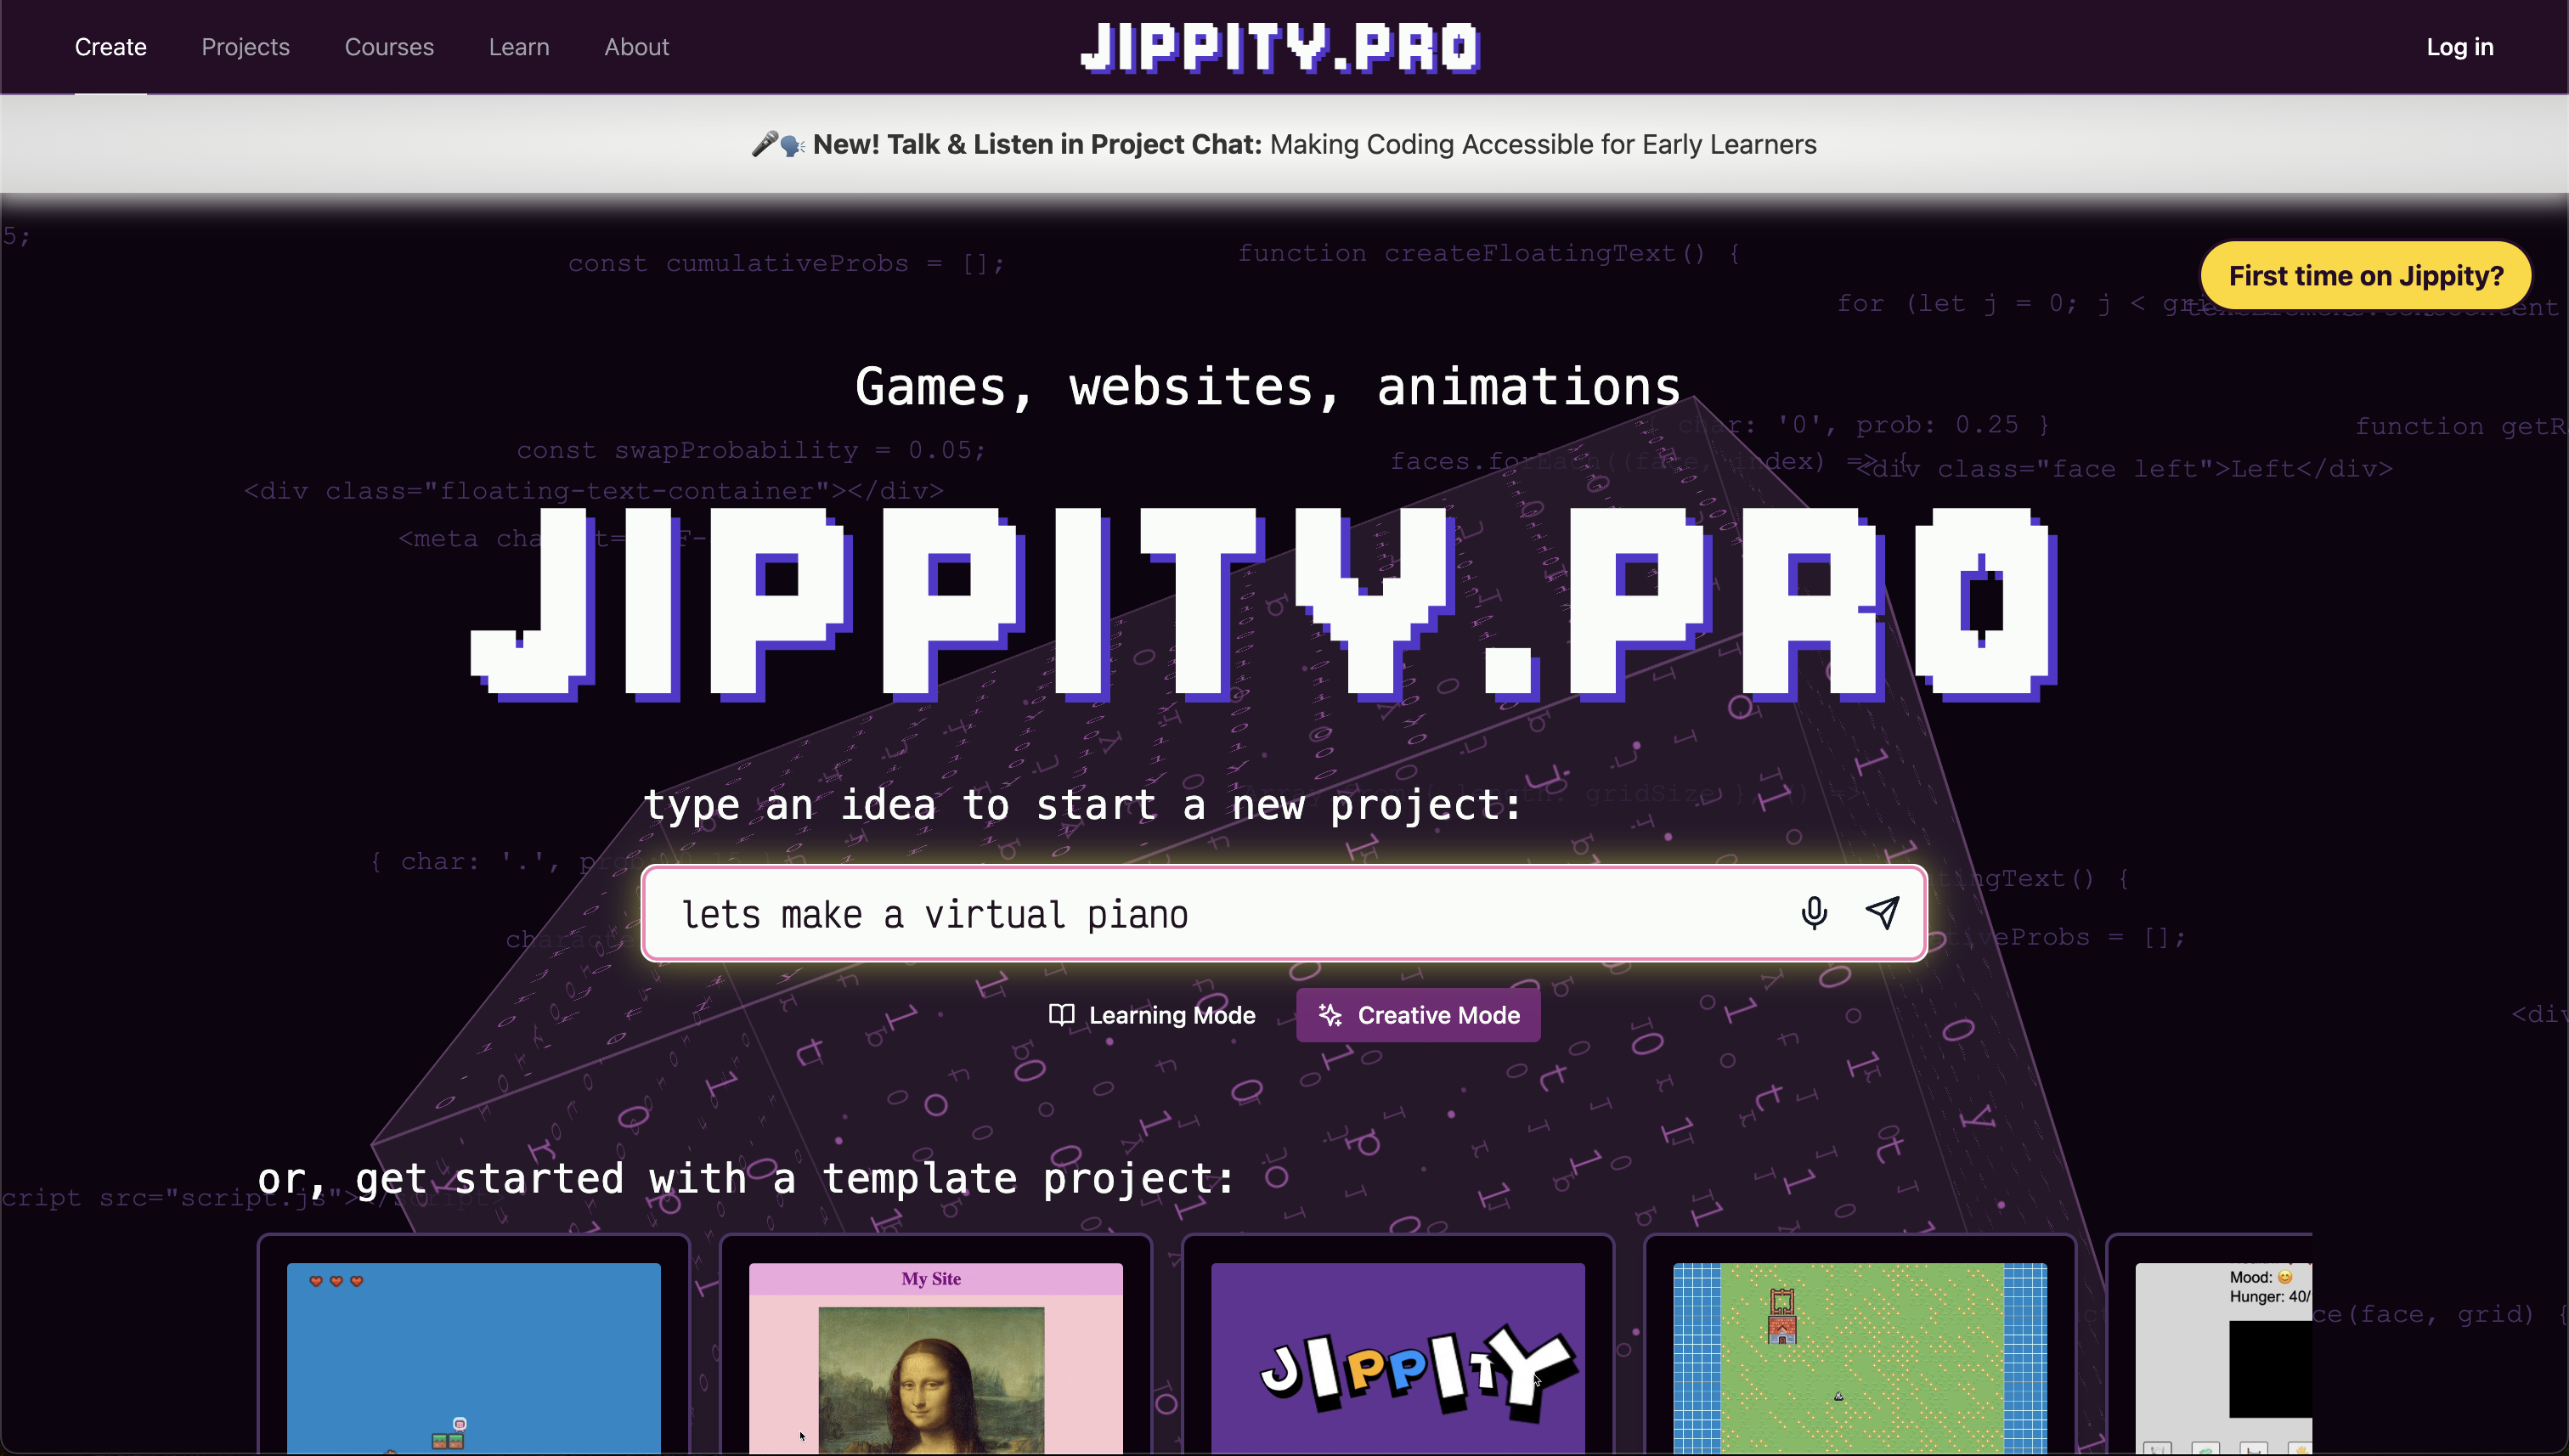
Click to open Jippity's Home Page in a new tab.
In the big input box, type Let's make a virtual piano and press enter.
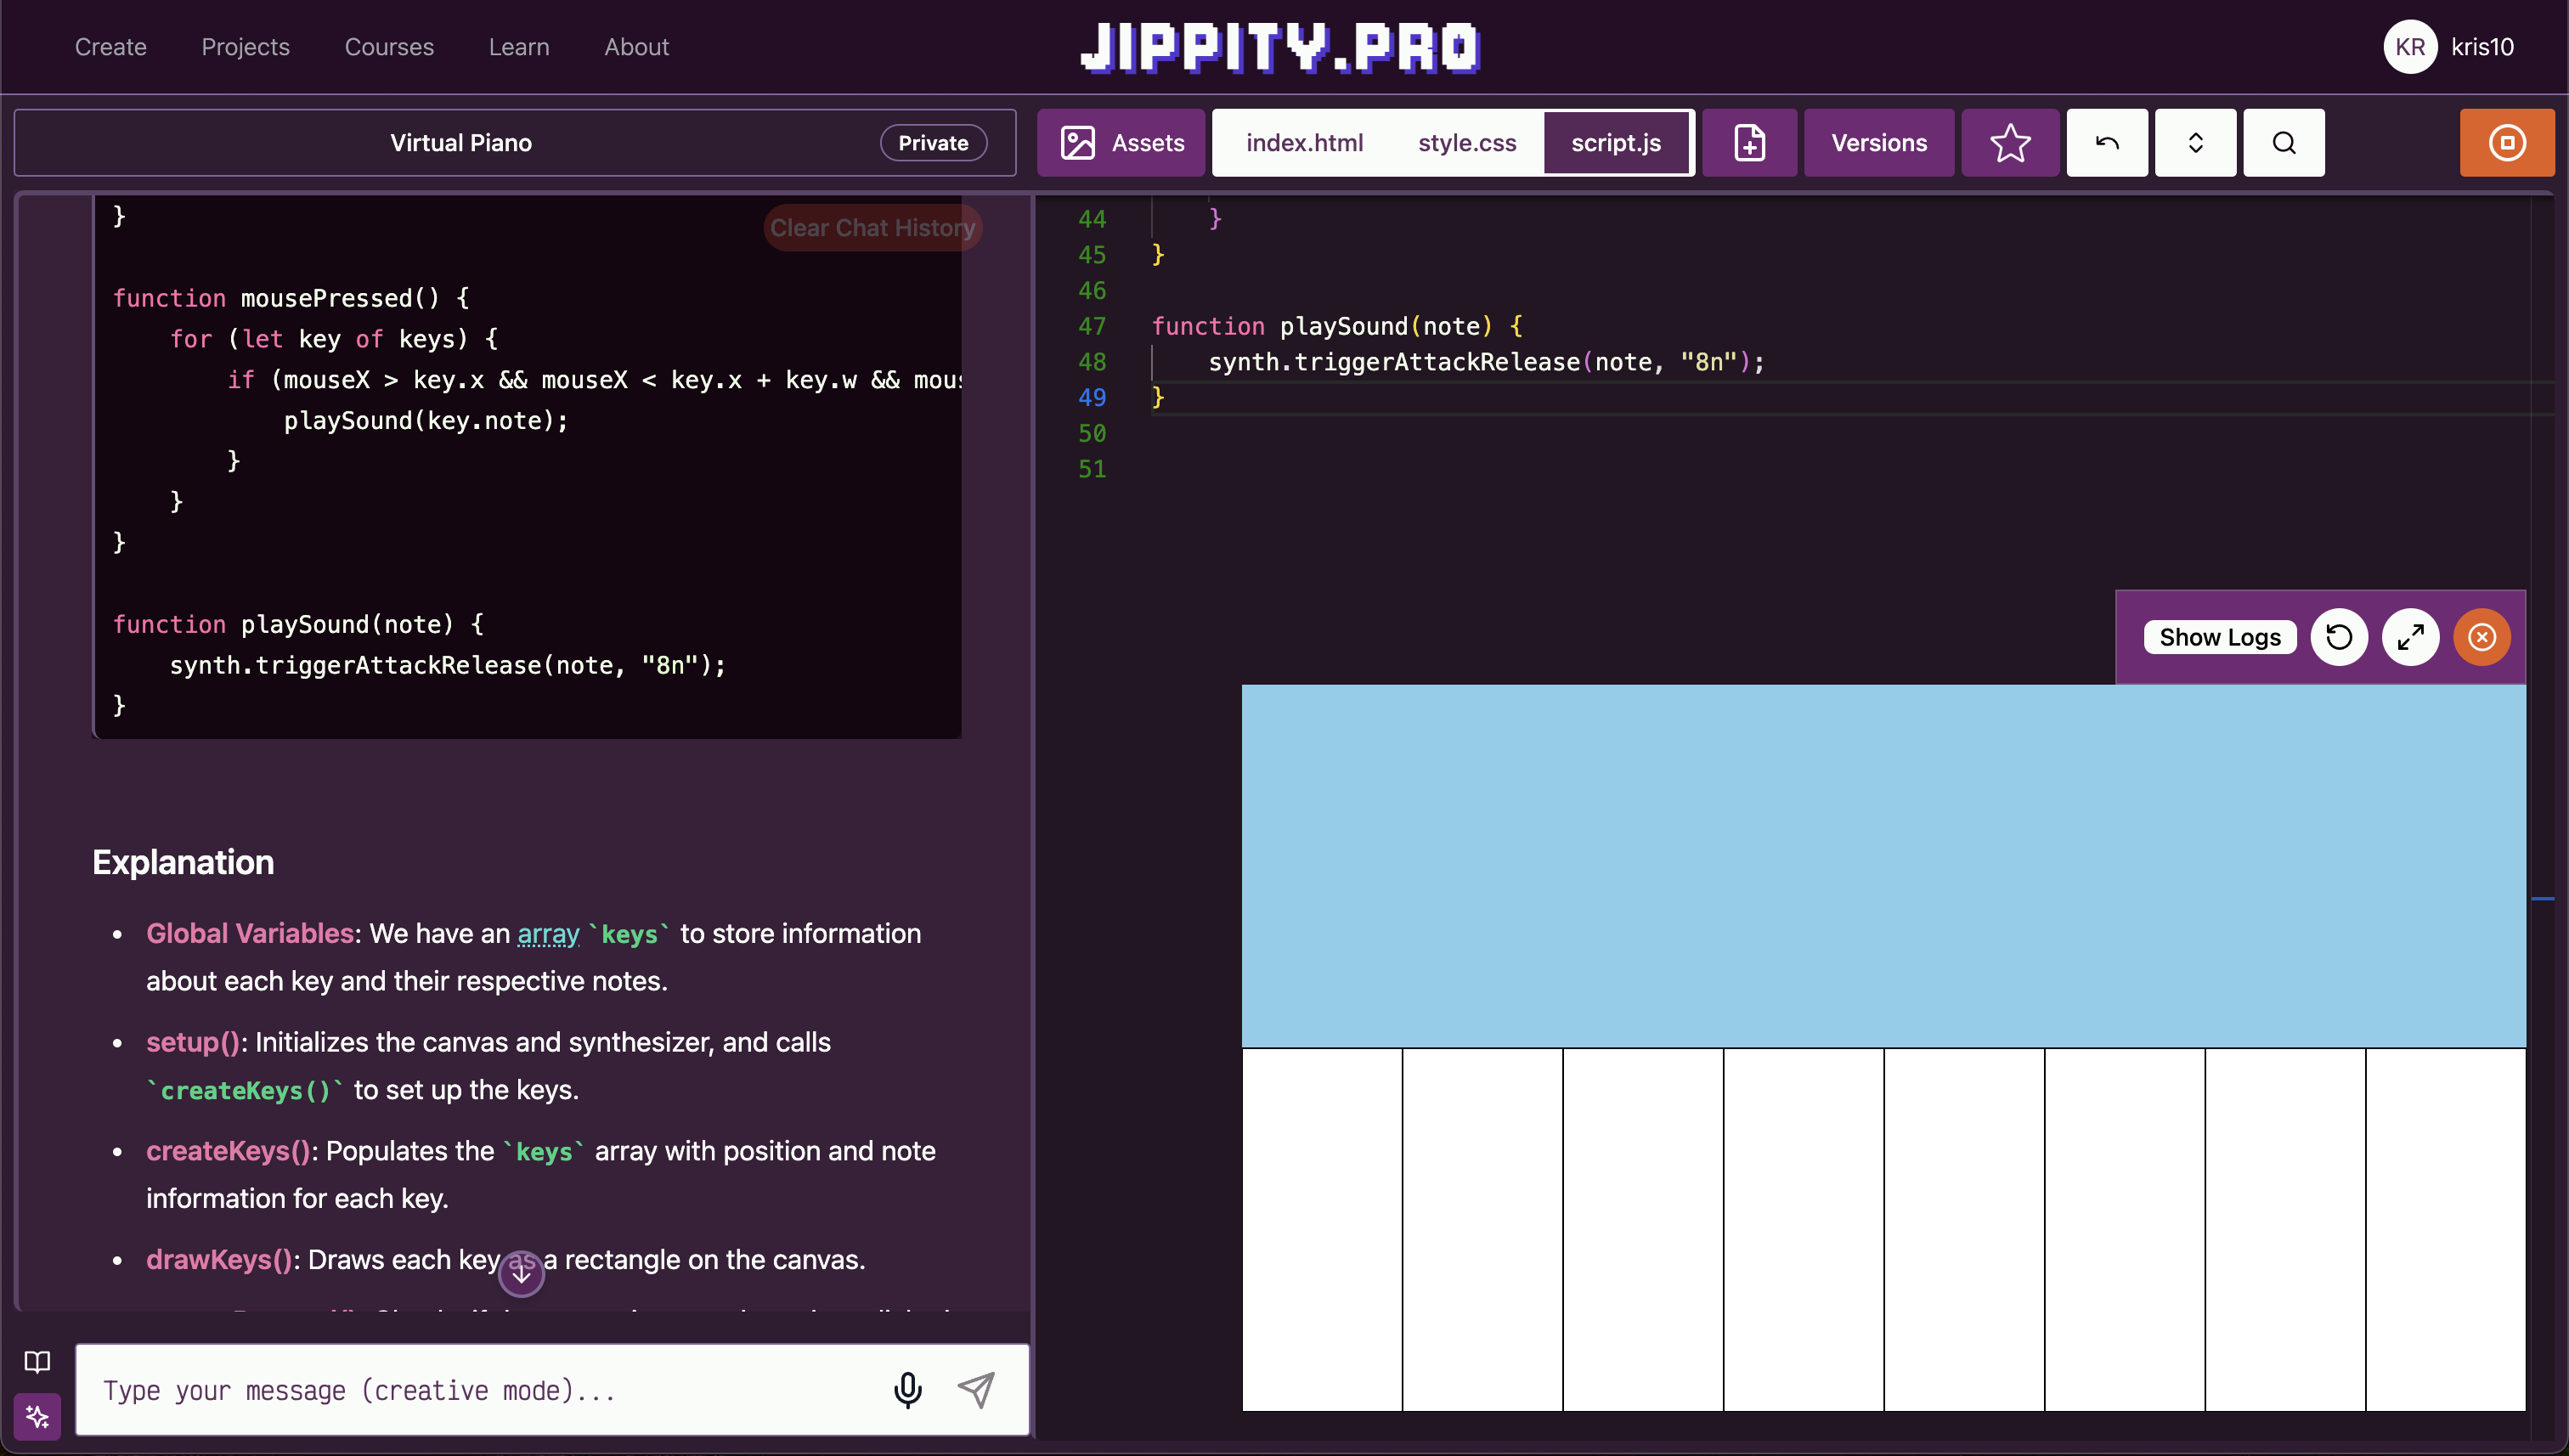
Set Up the Basic Structure
Jippity will ask for more details on your project. We'll start with the basics - creating a simple piano interface with a few keys. Ask Jippity to create a basic piano with 8 white keys (C, D, E, F, G, A, B, C) that can be clicked to play sounds.
Use a prompt like:
create a virtual piano with 8 white keys (C, D, E, F, G, A, B, C) that can be clicked
						to play sounds using Tone.js
Jippity will respond in the chat with a plan, some code, and an explanation of the code.
You'll need to click the Insert This Code! button to add that code to your project.
Sometimes there will be multiple code blocks in the chat responses. Make sure to scroll through and insert them all into your project.
Test the Piano
After adding the code, click the Run button in the top right corner of the screen
to test your piano.
Add Visual Styling
Now we'll make the piano look more realistic with proper styling.
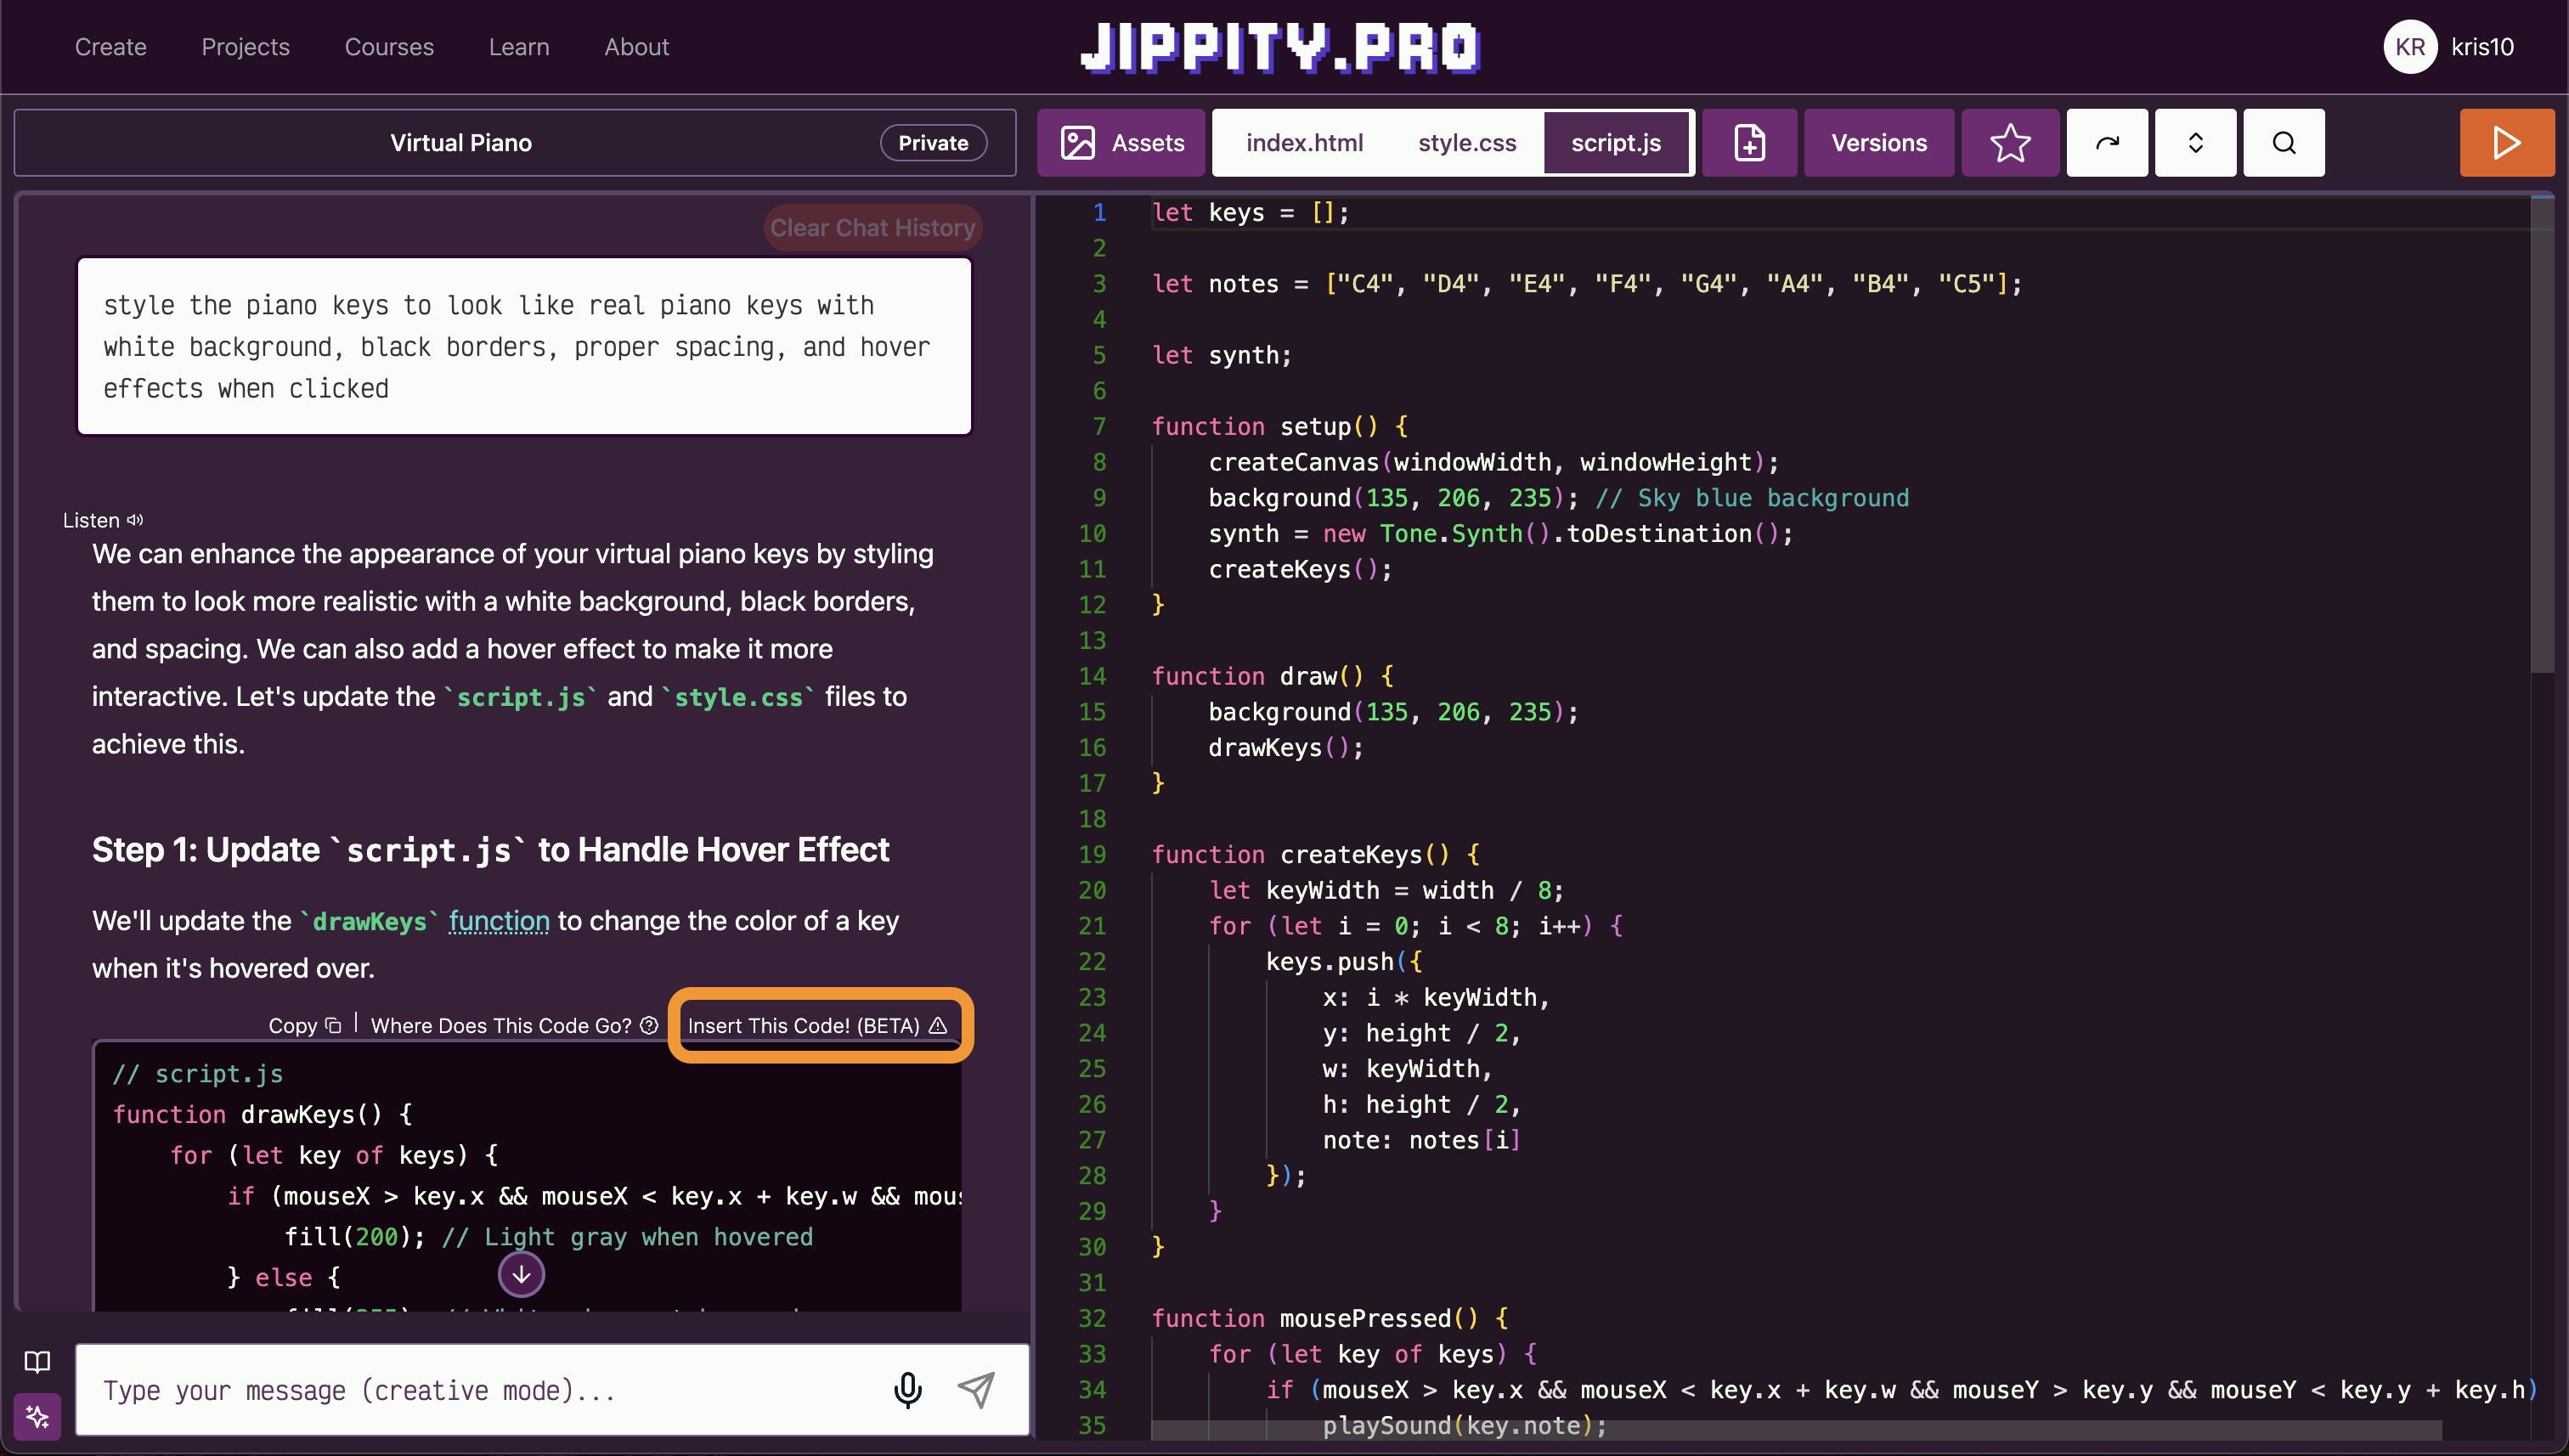
Ask Jippity to style the piano keys to look like real piano keys with proper colors, spacing, and hover effects. You can use a prompt like:
style the piano keys to look like real piano keys with white background, black borders,
						proper spacing, and hover effects when clicked
Make sure to insert all the relevant code blocks into your project and test the visual improvements.
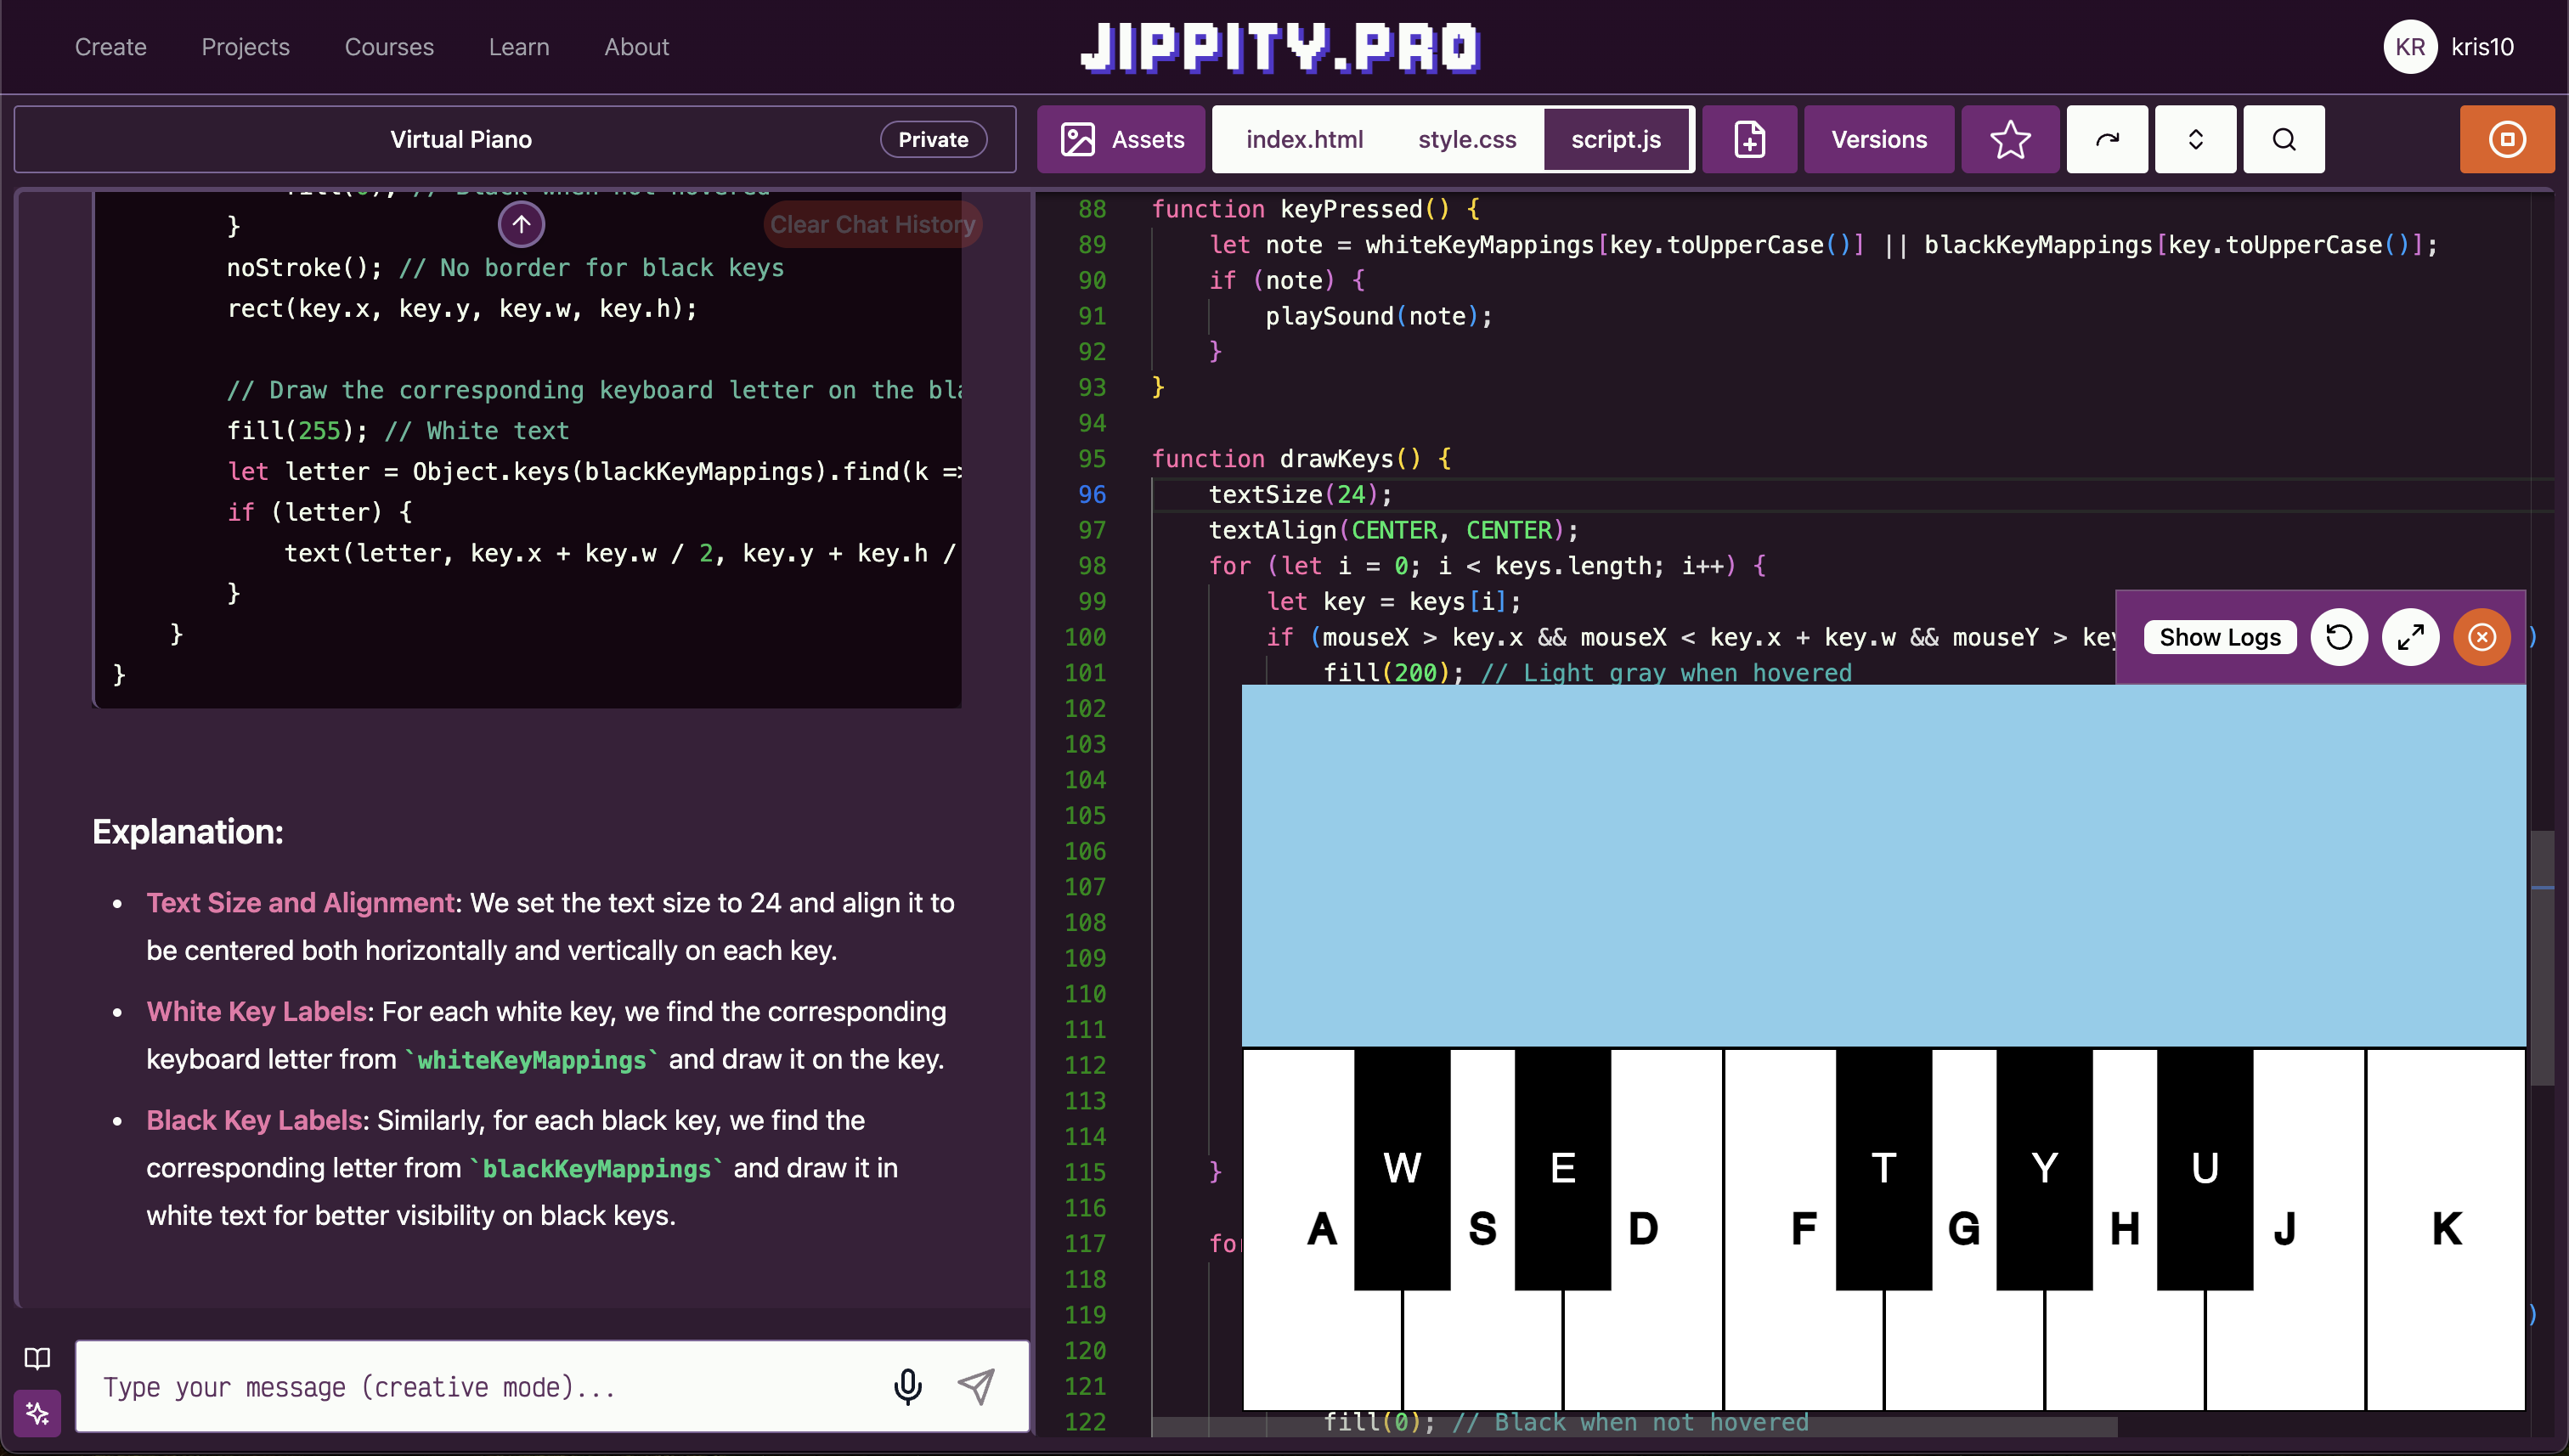
Add Black Keys (Sharps)
Now we'll add the black keys (sharps) to make it look like a real piano.
Ask Jippity to add black keys between the white keys where they belong on a real piano. Use a prompt like:
add black keys (sharp notes) between the white keys where they belong on a real piano.
Test the black keys by clicking inside the preview window and pressing the keyboard keys. It might take a few tries to get the black keys to work correctly. Be patient, use the undo button, and clear the chat history before inputting new prompts if needed!

Add Keyboard Controls
Now we'll add keyboard controls so students can play the piano using their computer keyboard.
Ask Jippity to add keyboard controls where each piano key corresponds to a keyboard key. You can use a prompt like:
add keyboard controls so that the white keys can be played using keys A, S, D, F, G, H,
						J, K and the black keys using W, E, T, Y, U
Test the keyboard controls by clicking inside the preview window and pressing the keyboard keys. You won't be able to use the keyboard keys until you click inside the preview window.
Add keyboard letters guide to the piano
Let's add the keyboard letters to the piano so students can see which keys correspond to which piano keys.
Ask Jippity to add the keyboard letters to the piano. You can use a prompt like:
add the keyboard letters to the piano so students can see which keys correspond to
						which piano keys
Test the keyboard letters by clicking inside the preview window and pressing the keyboard keys. You won't be able to use the keyboard letters until you click inside the preview window.
Ideas for Further Exploration
Here are a few ideas for continuing to expand your virtual piano:
- Expand the Piano - add more octaves, 2-octave, 3-octave, etc.
- Create a recording feature that lets users record and play back their performances.
- Add a metronome with adjustable tempo to help with timing.
- Create different piano themes or skins that users can choose from.
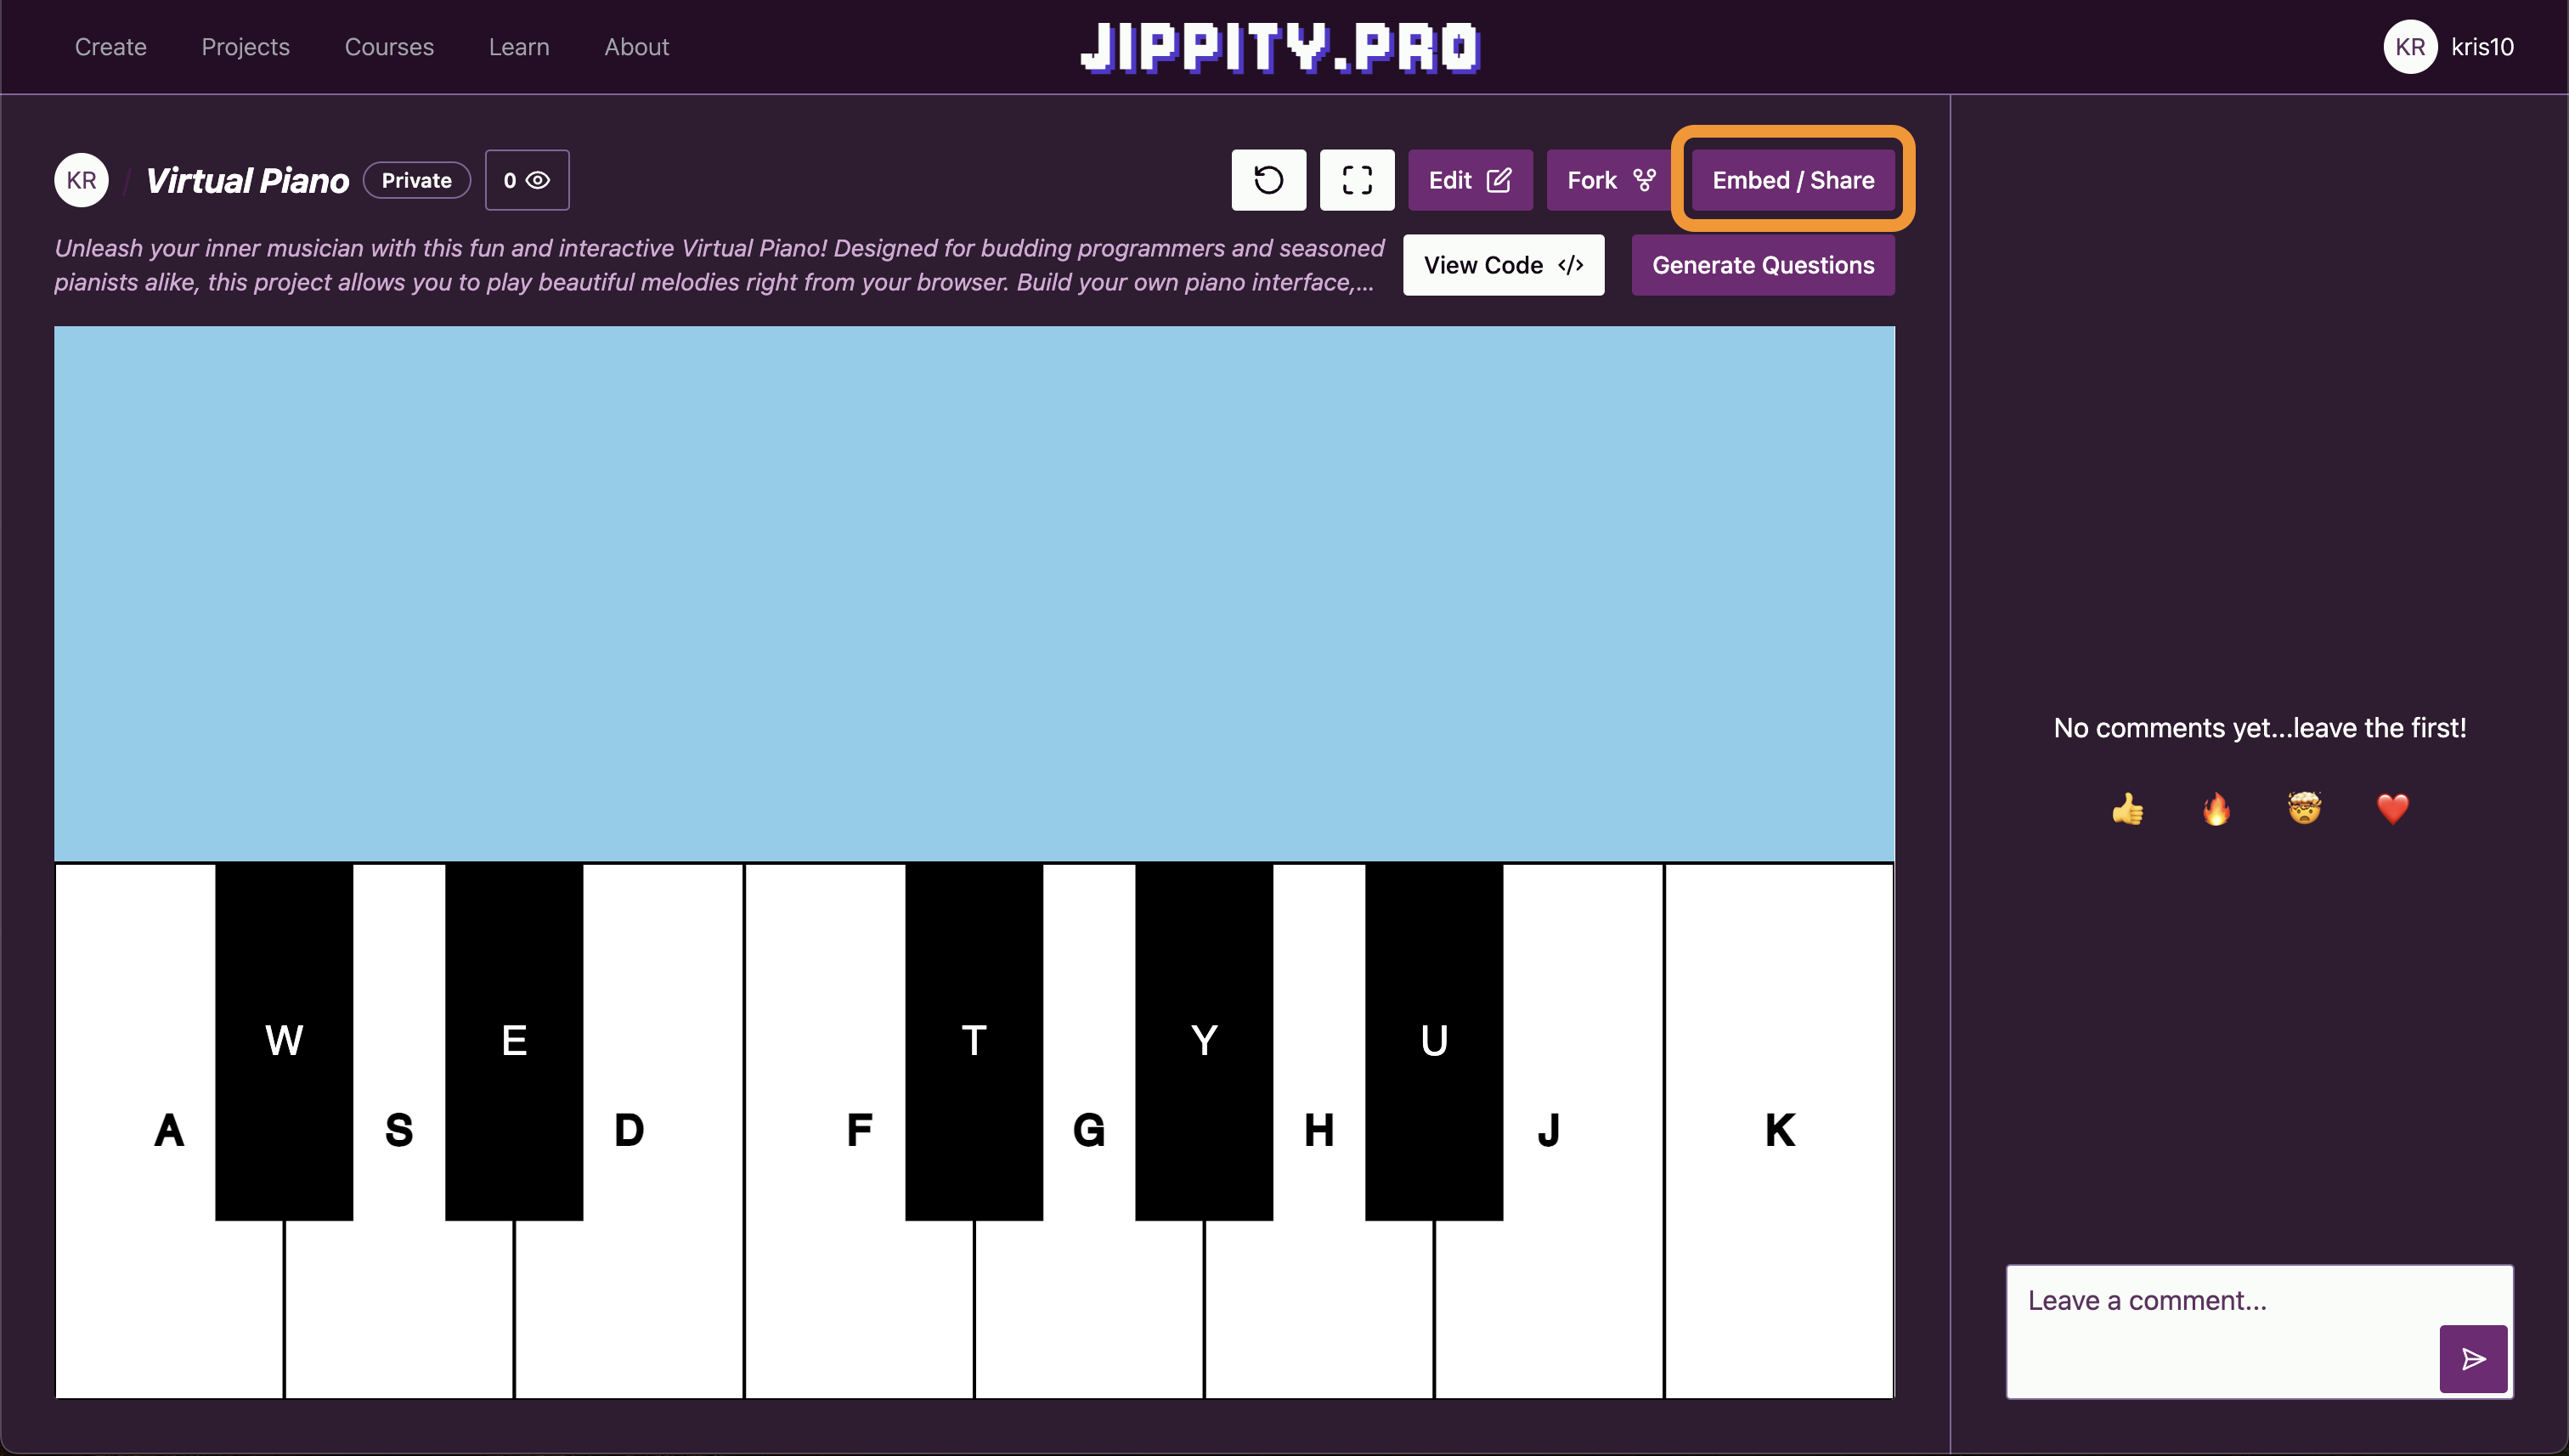
Publish and Share
Once you are happy with your virtual piano, you can publish and share it with others.
Click the Title button above the chat, and update your piano title and
description. Make sure to hit Save after you make your changes.
If you want to publish your piano for others to play on Jippity, add a thumbnail, and
click Publish to make it appear in the Projects tab.
But you don't have to publish your piano to share it with others! Click the View Project Page
button to view your piano's page in a new tab, where you can find an
Embed/Share button to copy and share the link to your piano.
Copy the link and share it with others.
Congratulations, you've built your own virtual piano with AI!
Reach out to us at [email protected] for feedback or questions.
Coming Soon!
Reach out to us at [email protected] for feedback or questions.